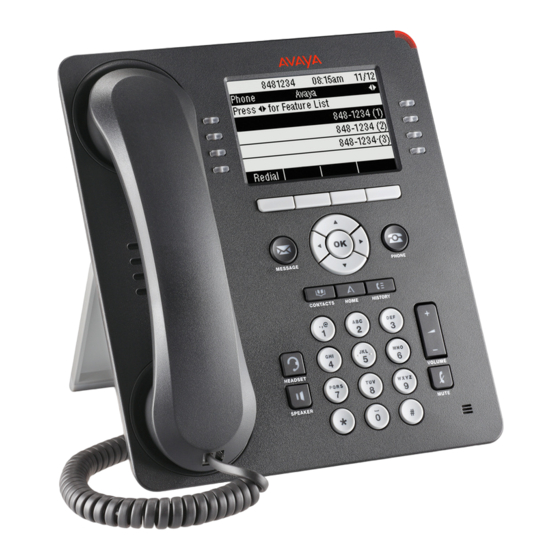
Avaya one-X 9608 빠른 참조 매뉴얼 - 페이지 5
{카테고리_이름} Avaya one-X 9608에 대한 빠른 참조 매뉴얼을 온라인으로 검색하거나 PDF를 다운로드하세요. Avaya one-X 9608 6 페이지. Deskphone
Avaya one-X 9608에 대해서도 마찬가지입니다: 빠른 참조 매뉴얼 (2 페이지), 빠른 참조 (3 페이지), 사용자 설명서 (20 페이지)

Adding a New Contact. . .
1.
Press the Contacts button
2.
Press the New softkey, If New is not visible, press the More softkey.
3.
Enter the name using the dialpad (like text messaging)
If you need to remove a letter, use the left and right arrows to place your cursor after the character you want to
•
delete and press Bksp.
Press the softkeys below More à Abc to change between upper and lower case letters or to enter numbers, or
•
press ABC repeatedly to cycle through the options ( Abc/123/abc/ABC ) until the type you want to use is displayed.
Press the softkeys below More à Symbols to enter characters that are not on your dialpad. Select the symbol you
•
want to use and press Insert .
Press Clear to delete all text and start over.
•
4.
Use the Navigation Arrows to scroll to the next field, or press the adjacent Line button to select the next field.
5.
Enter the telephone number ( remember to include the 9 if entering an external number).
6.
Scroll to the next field, and select the type of number entered (general, work, mobile, home) by arrowing right or
left. The icon will change accordingly.
7.
If you have another number for this contact, follow steps 5 and 6 above.
Press the Save softkey.
8.
Editing a Contact. . .
1.
Press the Contacts button
2.
Scroll to the contact entry you wish to edit.
3.
Press the softkeys below More à Edit .
4.
Choose the field you want to edit.
5.
Use the dialpad and softkeys to make changes to the contact information.
Press the Save softkey.
6.
Deleting a Contact. . .
1.
Press the Contacts button.
2.
Scroll to the contact entry you wish to delete.
3.
Press the softkeys below More à Delete .
4.
Press the softkey below Delete again to confirm.
Press the History button to view your received, missed, and outgoing calls. The telephone will store 100 log entries shared
between the three categories.
Viewing the History. . .
1.
Press the History button.
2.
Scroll to the right or left to view separate lists of your missed, answered, outgoing or all calls.
NOTE: You can scroll quickly to the top of the list by pressing History again.
•
Calling an entry in your History. . .
1.
Press the History button.
2.
Scroll to and select the number you want to call, or press the Call softkey.
Viewing History Details. . .
3.
Press the History button.
4.
Scroll to the number you want to view.
5.
Press the Details softkey. If Details is not an option, press the More softkey.
6.
Press the Back softkey to return to the list view.
Adding an Entry from the History to your Contacts List. . .
1.
Press the History button.
2.
Scroll to the entry you want to add to your Contacts list.
3.
Press the +Contact softkey. If this is not on your display, press the More softkey.
4.
Edit name and telephone number, if necessary. (Follow editing instruction in the "Contacts" section)
5.
Press Save .
Removing an Entry from the History. . .
1.
From the History screen, scroll to the entry you wish to delete.
2.
Press the More softkey, if necessary.
3.
Press the Delete softkey
4.
Press the Delete softkey again to confirm, or press the Cancel softkey if you wish to retain the entry.
Avaya 9608 QRG ~ Quality Training Services, LLC.
Page 5
