Lexmark E460 Series 유지 관리 매뉴얼 - 페이지 9

{카테고리_이름} Lexmark E460 Series에 대한 유지 관리 매뉴얼을 온라인으로 검색하거나 PDF를 다운로드하세요. Lexmark E460 Series 10 페이지. Lexmark printer user manual
Lexmark E460 Series에 대해서도 마찬가지입니다: 사양 (4 페이지), 빠른 참조 (2 페이지), 기술 노트 (3 페이지), 인쇄 매뉴얼 (10 페이지), 연결 매뉴얼 (5 페이지), 미디어 매뉴얼 (4 페이지), 네트워크 설정 (4 페이지), 소모품 매뉴얼 (2 페이지), 설정 시트 (2 페이지), 정보 매뉴얼 (1 페이지), 빠른 시작 매뉴얼 (4 페이지), (포르투갈어) 브로셔 및 사양 (6 페이지)
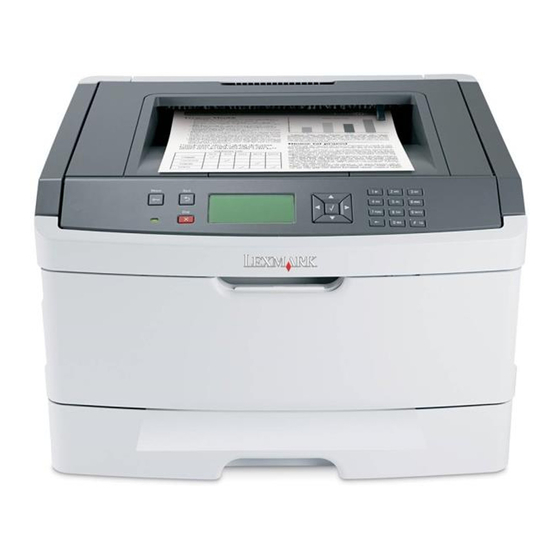
Lexmark E460 Series 유지 관리 매뉴얼
6
Insert the toner cartridge into the photoconductor kit by aligning the rollers on the toner cartridge with the tracks.
Push the toner cartridge until it clicks into place.
7
Install the unit into the printer by aligning the arrows on the guides of the unit with the arrows in the printer. Push
the unit as far as it will go.
8
After you replace the photoconductor kit, reset the photoconductor counter.
To reset the photoconductor counter, open the front door, press and hold
appears. The power light blinks, and the printer beeps.
Warning—Potential Damage: Resetting the photoconductor counter without replacing the photoconductor
may damage your printer and void your warranty.
9
Close the front door.
Maintaining the printer
9
until Resetting PC Counter