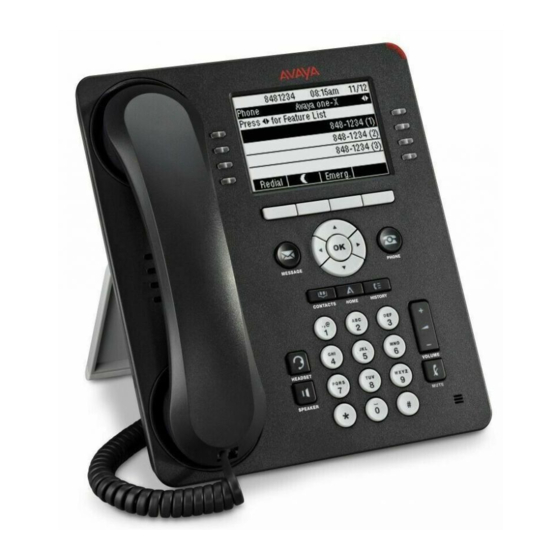
Avaya one-X Quick Edition 시작하기 - 페이지 17
{카테고리_이름} Avaya one-X Quick Edition에 대한 시작하기을 온라인으로 검색하거나 PDF를 다운로드하세요. Avaya one-X Quick Edition 18 페이지. Application notes for plantronics calisto p210-a usb handset with avaya one-x communicator - issue 1.0
Avaya one-X Quick Edition에 대해서도 마찬가지입니다: 사용자 설명서 (6 페이지), 빠른 참조 (4 페이지), 애플리케이션 노트 (12 페이지), 설치 및 안전 지침 (10 페이지), 빠른 참조 매뉴얼 (4 페이지), 빠른 참조 매뉴얼 (2 페이지)
e. Perform one of the following steps:
•
If you want to use your headset or handset to speak to and hear the other
party on a call, click the Headset or handset option button.
•
If you want to use your PC microphone and speakers to speak to and
hear the other party on a call, click the PC microphone and PC
speakers option button.
f.
Click the Next button.
The next Audio Tuning Wizard dialog box appears. This dialog box enables
you to verify that your PC speakers or headset are operating properly and to
adjust the volume of the speakers or headset.
g. Click the Test button. If your speakers or headset are operating properly, you
will hear a sample sound file. Move the slider to adjust the volume. Moving
the slider to the right increases the volume. When finished, click the Stop
button.
If you do not hear the sample sound file, verify the connections between your
PC and the speakers/headset, and verify that your speakers are turned on.
h. Click the Next button.
The next Audio Tuning Wizard dialog box appears. This dialog box enables
you to verify that your microphone is operating properly and to adjust the
recording level (that is, volume) of the microphone.
i.
Speak into your microphone to set the recording level.
j.
When finished, click the Next button.
The next Audio Tuning Wizard dialog box appears. This dialog box enables
the Audio Tuning Wizard to determine the level of background noise at your
current location. This prevents Avaya one-X Communicator from transmitting
the background noise at your location when you are not speaking during a
call.
k. Make sure there is no excessive noise.
l.
Click the Test button and then do not speak.
The Test button becomes disabled, and the Audio Tuning Wizard determines
the background noise level. This test lasts for approximately 10 seconds.
When the test is completed, the Test button becomes enabled.
If there was excessive noise during the test, repeat Steps k and l.
m. When the test is complete, click the Next button.
The Audio Tuning Wizard complete dialog box appears.
n. Click the Finish button.
17