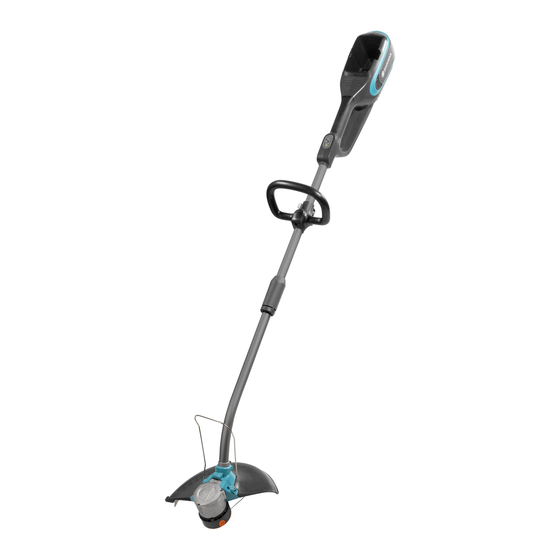
Gardena PowerCut Li-40/30 운영자 매뉴얼 - 페이지 10
{카테고리_이름} Gardena PowerCut Li-40/30에 대한 운영자 매뉴얼을 온라인으로 검색하거나 PDF를 다운로드하세요. Gardena PowerCut Li-40/30 19 페이지. Battery trimmer
Gardena PowerCut Li-40/30에 대해서도 마찬가지입니다: 운영자 매뉴얼 (12 페이지)

Disposal of the
battery:
6. TROUBLESHOOTING
Problem
Trimmer does not start
Trimmer does not cut
Trimmer can no longer be
stopped
Cutting filament cannot be
extended or is used quickly
ç
Error-LED
on
the control panel
flashes
The GARDENA battery contains lithium-ion cells that should not be
disposed of with normal household waste at the end of its life.
IMPORTANT!
Li-ion
Dispose of the batteries through or via your municipal recycling
collection centre.
1. Discharge the lithium-ion cells completely (contact the GARDENA
Service).
2. Protect the contacts on the lithium-ion cells against short circuits.
3. Dispose of the lithium-ion cells properly.
DANGER! Risk of injury!
Cut injury when the trimmer starts accidentally.
v Wait for the cutting filament to stop and remove the
battery before you troubleshoot the trimmer.
Possible Cause
Battery is not put completely
into the battery holder.
On LED is off.
Cutting filament is worn or too
short.
Filament cassette is empty.
Cutting filament is pulled into
the cassette or welded.
Start lever is stuck.
Cutting filament became too
dry and brittle (e. g. during the
winter).
Cutting filament frequently
touched hard objects.
Over current, engine is blocked.
Over temperature.
ß
Wp
Start lever is pushed while the
On/Off button is pressed.
Remedy
v Put the battery completely into
the battery holder until it audibly
engages.
v Push the On/Off button.
v Extend the cutting filament
(see 3. OPERATION
"To extend the cutting filament
(Tip mechanism)").
v Replace the filament cassette
(see 4. MAINTENANCE
"To replace the filament
cassette").
v Pull the cutting filament
out of the filament cassette
(see above).
v Remove the battery and loosen
the start lever.
v Put the filament cassette in
water for approx. 10 hours.
v Prevent the cutting filament
from touching hard objects.
v Remove the battery and remove
the obstacle.
v Let the product cool down.
v Release the start lever. Push
the On/Off button (Error-LED is
off). Push the On/Off button
again (On LED illuminates)
23
