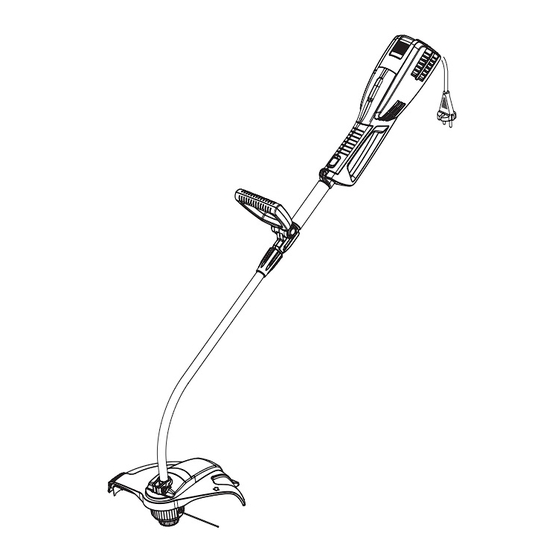
Gardena ProCut 800 사용 설명서 - 페이지 7
{카테고리_이름} Gardena ProCut 800에 대한 사용 설명서을 온라인으로 검색하거나 PDF를 다운로드하세요. Gardena ProCut 800 14 페이지. Turbotrimmer
Gardena ProCut 800에 대해서도 마찬가지입니다: 사용 설명서 (15 페이지), 사용 설명서 (14 페이지), 사용 설명서 (15 페이지)
Replacing the filament
cassette :
S
1
P
R
7. Troubleshooting
RISK OF INJURY !
Releasing a cutting filament
that has gone into the
cassette or which has fused :
1
16
RISK OF INJURY !
V Never use metallic cutting elements or
A
replacement parts and accessories not
provided by GARDENA.
Only use original GARDENA Filament Cassettes. You can
order Replacement Filament Cassettes from your GARDENA
dealer or directly from the GARDENA Customer Service.
• Filament Cassette for
Turbotrimmer ProCut 800 / 1000 :
1. Unplug the mains plug.
M
2. Grip the filament cassette holder
N
cover
.
3. Remove the filament cassette
O
and untwist the spring.
4. Remove any dirt.
N
5. Pull about 10 cm of the filament
out through the slot
M
6. Turn the spring
the cutting filaments
1
7. Insert the cassette
cassette holder
so that the markings
the cassette are visible in the
Q
holes in the cassette holder
When doing this the cutting
R
filaments must not get trapped.
P
8. Insert the cassette holder and
the cassette until the end of
O
the spindle
5 mm.
9. Screw the cassette cover
N
v If the markings
holes, turn the cassette
cassette holder
Risk of injury from the cutting filament !
V Always unplug the mains plug of the Turbotrimmer
before troubleshooting.
If the cutting filament has disappeared into the filament cassette
or the tap mechanism still doesn't work after pulling the cutting
1
filament
it may be fused together in the filament cassette
1. Unplug the cable from the mains.
1
2. Remove the filament cassette
6. Maintenance "Replacing the filament cassette" .
O
M
O
from the cassette holder
1
P
in the cassette.
Q
into the new filament cassette
1
into the filament cassette holder
O
M
into the
M
and turn it
R
on
M
.
R
S
sticks out about
N
onto the end of the spindle
R
cannot be turned until they are under the
O
to and fro until it fits into the
M
properly.
O
as described in
Art. No. 5308
and unscrew the cassette
from the new cassette
O
and thread
M
S
M
O
.
R
.
O
.