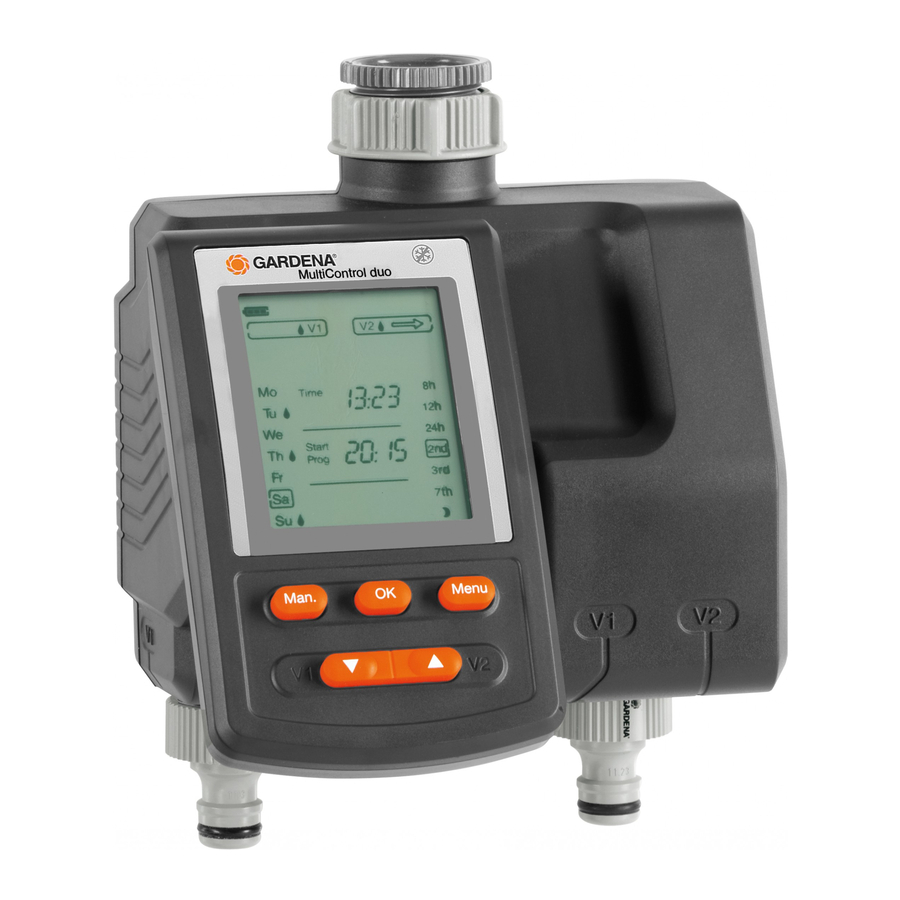
Gardena 1874 사용 설명서 - 페이지 5
{카테고리_이름} Gardena 1874에 대한 사용 설명서을 온라인으로 검색하거나 PDF를 다운로드하세요. Gardena 1874 17 페이지. Water computer
Gardena 1874에 대해서도 마찬가지입니다: 운영자 매뉴얼 (17 페이지), 사용 설명서 (17 페이지)

2 Bars
Battery half full
Valve opens.
The Water Computer
is guaranteed to
work for a minimum
of 4 more weeks.
4. Initial Operation
Insert battery:
F
Connect soil moisture
or rain sensor (optional) :
H
I
J
1 Bar
Battery low
Valve opens.
The Water Computer
will continue to work
for no more than
4 weeks.
It is advisable to
change the battery.
v Replace battery (see 4. Initial Operation "Inserting battery" ).
The Water Computer must only be operated with a 9 V alkali-
manganese (alkaline) battery type IEC 6LR61.
1. Remove controller
housing of the Water Computer.
2. Insert battery in the battery
compartment
correct polarity
shows all the LCD-symbols for
2 seconds and then moves to
the time / day of week level.
3. Install controller
housing again.
Set display to 24-hours or 12-hours (am / pm) :
The factory setting is the 24-hour display.
v Press the Man. button continuously while inserting the
battery.
The Water Computer is fitted with a sleeve nut
(G 1 " ) (33.3 mm) thread. The adaptor supplied
Water Computer to be connected to taps with a (G ³⁄₄ " ) thread
(26.5 mm).
1. For tap with a G ³⁄₄ " (26.5 mm) thread :
Screw adaptor
2. Screw sleeve nut
thread by hand (do not use pliers).
3. Screw Tap Connectors
outlets.
0 Bar
Battery almost flat
Valve still opens.
The Water Computer
stops working soon.
The battery must be
changed soon.
F
from the
G
. Observe
z
. The display
P
F
on the
H
on to the tap manually (do not use pliers).
I
of the Water Computer on to the adaptor
J
onto the two Water Computer
Frame is flashing
Battery flat
Valve does not open.
The Water Computer
stops working.
The battery must be
changed.
z
P
I
for taps with
H
allows the
G
19
