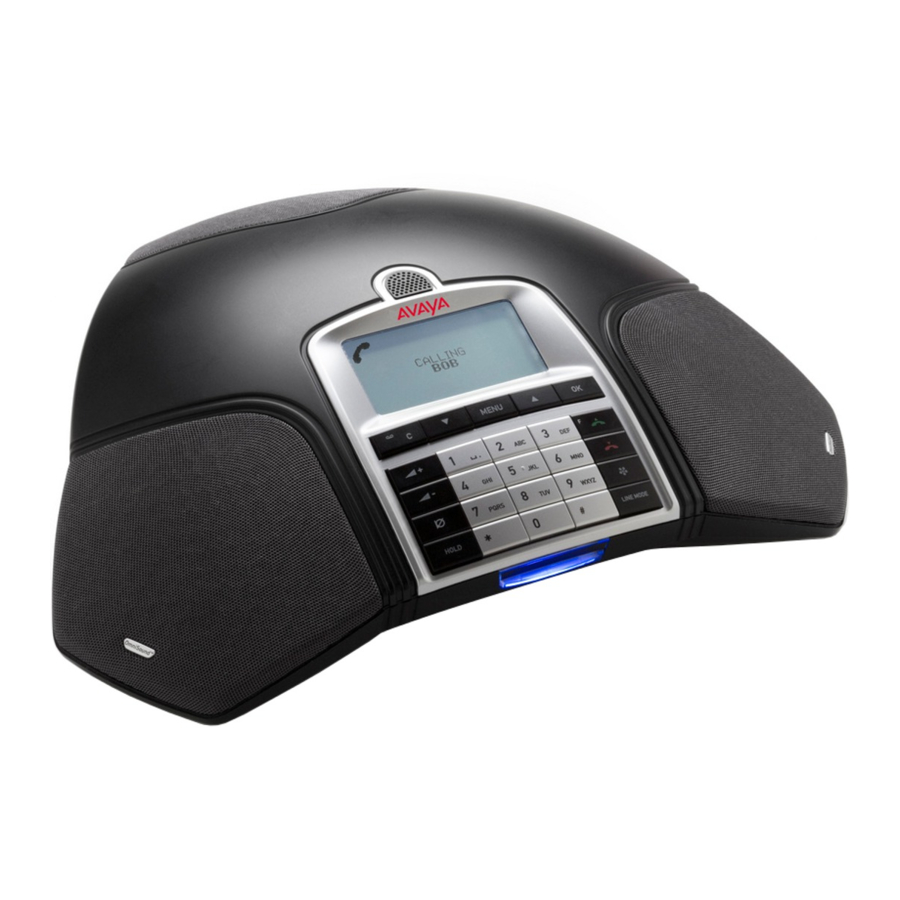
Avaya B159 Series 빠른 참조 매뉴얼 - 페이지 3
{카테고리_이름} Avaya B159 Series에 대한 빠른 참조 매뉴얼을 온라인으로 검색하거나 PDF를 다운로드하세요. Avaya B159 Series 4 페이지. Configuring b100 series phones on ip office
Avaya B159 Series에 대해서도 마찬가지입니다: 빠른 참조 매뉴얼 (4 페이지), 빠른 설정 매뉴얼 (4 페이지), 구성 매뉴얼 (2 페이지)

GETTING STARTED
BESKRIVELSE
CONNECTING AND INSTALLING
THE UNIT
Connect to an analog line, wireless
DECT telephone/mobile phone or PC.
An optional phone cable is required for
connection to DECT/mobile phones.
Plug the Avaya B159 into the mains
using the power adapter as illustrated.
The first time the Avaya B159 is started,
you will be required to select the region
in which you are located. This configu-
res the phone to the telecom network
for that region.
Select the region in which you are loca-
ted. Click OK to confirm your selection.
Select the language you want. Click OK
to confirm your selection.
Select
> SETTINGS if you want to
set the date and time or make other
adjustments.
Place the conference phone in the
middle of the table.
•
TILKOBLING
•
LINJEVELGEREN
LINE MODE – SWITCH AND
COMBINE
It is possible to switch between and
combine two connectivity options.
Press the
key.
Select a connection option and press
OK to confirm.
You can add another line, disconnect or
switch between connected lines during
a call.
Connected to a computer, the Avaya
B159 can be used to record sound and
music when it is in
For VoIP calls (e.g. via Skype
Avaya B159 is put in
mode) and the call is then connected
over the Skype
network in the usual
®
way.
mode (stand-by).
), the
®
mode (call
