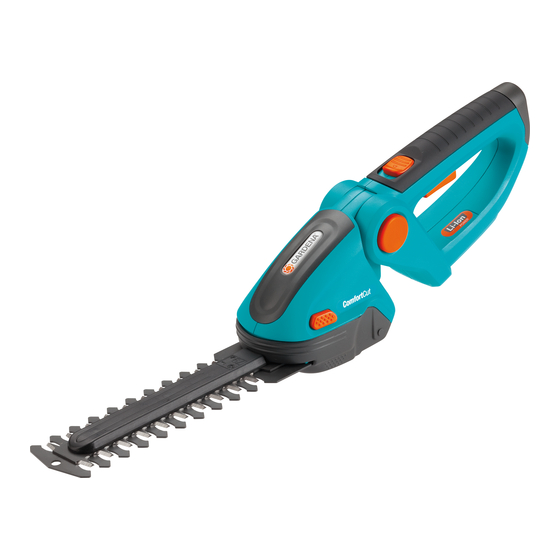
2. Assembly
Fitting / Removing the Wheels:
2
1
3. Initial Operation
Charging the Accu:
4
4
LED Accu Battery
Display Level:
Wheels are only included with the Grass Shears
(Art. 8890 / Art. 8893).
1
(They may be ordered separately from GARDENA Service).
Fitting the Wheels:
v From below, press the wheels
2
two pins
Removing the Wheels:
v From the underside of the grass shears, push both wheels
1
together
The battery should be fully charged before using for the first time.
Charging time, see 9. Technical Data.
The lithium-ion battery can be re-charged in any state of charge,
and the charging process can be interrupted at any time without
damaging the battery (no memory effect).
The Accu Shears cannot be started during charging.
WARNING!
Incorrect mains voltage damages batteries and the
battery charger.
3
v Ensure the correct mains voltage.
1. Connect charging cable
2. Connect battery charger to an electrical socket.
During charging, the jack
When the jack
Check the charge status regularly while charging.
3. First pull the charging cable
3
unplug the battery charger from the electrical socket.
When there is a sharp fall in the power of the Accu Shears, the
battery needs to be charged. Do not wait until the blade comes
to an absolute stop.
If the jack lights up red or yellow during charging then there is an
error (see 7. Trouble-Shooting).
After each switch-off of the Accu Shears, the charge level of the
battery is shown for approx. 20 sec.
LED lights up green: Accu is fully charged.
LED lights up yellow: Accu is halffull.
LED lights up red:
1
into the grass shears until the
click into place.
and pull them off.
3
to the jack
4
flashes green. The battery is charged.
4
lights up green, the battery is fully charged.
3
out of the jack
Accu is empty and must be recharged.
4
of the Accu Shears.
4
and then
15

