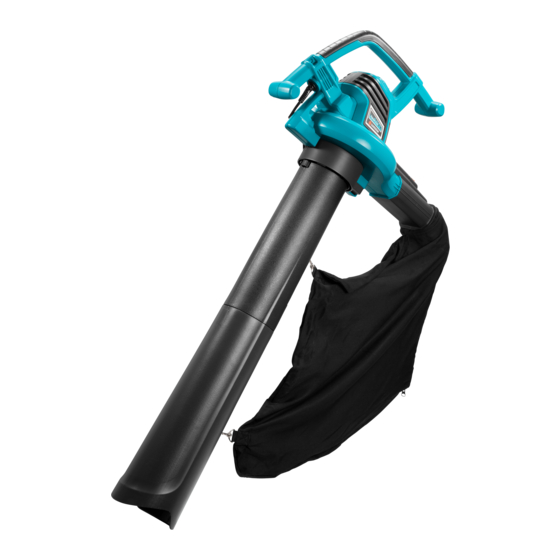
Gardena EJ2500 사용 설명서 - 페이지 9
{카테고리_이름} Gardena EJ2500에 대한 사용 설명서을 온라인으로 검색하거나 PDF를 다운로드하세요. Gardena EJ2500 17 페이지. Electric blower/vac
Gardena EJ2500에 대해서도 마찬가지입니다: 사용 설명서 (19 페이지), 사용 설명서 (9 페이지), 운영자 매뉴얼 (8 페이지)

WARNING:
extension cord. Wait until the impeller has completely stopped turning,
then remove the vacuum tubes. Carefully reach into the vacuum opening
and clear out the clogged debris.
This will reduce possible personal injury from the impeller.
4. Storage
Storage:
Extended storage:
Disposal:
(in accordance with
EU-directive RL 2012/19/EU)
Vacuum mode
Use your unit as a vacuum to pick up dry material such as leaves,
grass, small twigs, and bits of paper.
For best results during vacuum use, operate your unit at high
speed.
Move slowly back and forth over the material as you vacuum.
Avoid forcing the unit into a pile of debris as this can clog the unit.
Keep the vacuum tube about an inch above the ground for best
results.
If the unit becomes clogged, stop the unit and unplug the
Store unit unplugged, well out of the reach of children.
1. Stop unit and disconnect from the mains electricity supply.
2. Allow motor to cool before storing or transporting.
3. Store unit with all guards in place. Position unit so that any
sharp object cannot accidentally cause injury.
Prepare unit for storage at the end of the season or if it will not
be used for 30 days or more.
If your blower is to be stored for a period of time:
1. Stop unit and disconnect from the mains electricity supply.
2. Clean the entire unit before lengthy storage.
3. Open inlet cover and clean any dirt, grass, or debris that
has collected. Inspect the blower and all tubes.
Close and make sure the cover is latched.
4. Use a soft brush to clean air vents and air inlet of debris.
Do not use water.
5. Store your unit and extension cord in a well ventilated area and
covered, if possible, to prevent dust and dirt accumulation.
Do not cover with plastic. Plastic cannot breathe and may cause
condensation and eventual rust or corrosion.
6. Check entire unit for loose screws.
Replace any damaged, worn, or broken parts.
7. Remove tube(s) for easier storage.
This product must not be added to normal household waste.
It must be disposed of in line with local environmental regulations.
23
