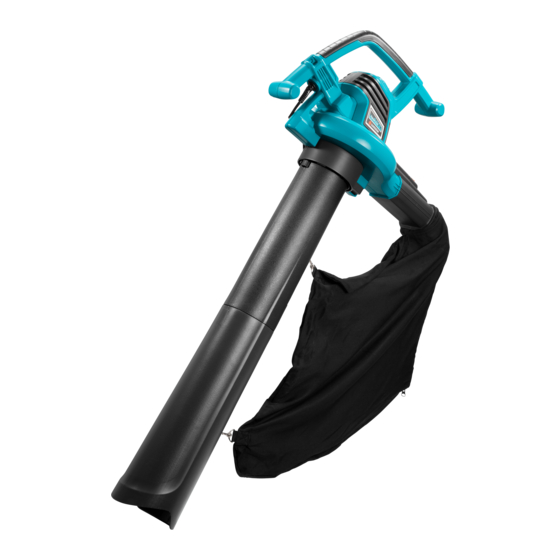
Gardena ErgoJet 2500 사용 설명서 - 페이지 5
{카테고리_이름} Gardena ErgoJet 2500에 대한 사용 설명서을 온라인으로 검색하거나 PDF를 다운로드하세요. Gardena ErgoJet 2500 17 페이지. Electric blower/vac
Gardena ErgoJet 2500에 대해서도 마찬가지입니다: 사용 설명서 (18 페이지), 사용 설명서 (19 페이지), 사용 설명서 (19 페이지), 사용 설명서 (10 페이지), 사용 설명서 (9 페이지), 운영자 매뉴얼 (8 페이지)

• Never place objects inside the blower
tubes; always direct the blowing debris
away from people, animals, glass, and
solid objects such as trees, automobiles,
walls, etc. The force of air can cause rocks,
dirt, or sticks to be thrown or to ricochet which
can hurt people or animals, break glass, or
cause other damage.
• Never use for spreading chemicals, fertil
izers, or any other substances. This will
prevent the spreading of toxic materials.
Vacuum safety warnings
• Stop the motor and disconnect the exten
sion cord before opening the air inlet
door or attempting to insert or remove the
vacuum tubes. The motor must be stopped
and the impeller blades no longer turning to
avoid serious injury from the rotating blades.
• Inspect the area before using the unit.
Hard objects can be thrown through the
collection bag or the housing and become
dangerous missiles which can cause
serious injury to the operator or others.
• Do not vacuum stones, gravel, metal,
broken glass, etc.
Proper use of the unit will reduce possible
personal injury and/or damage to the unit.
• Do not attempt to vacuum water or other
liquids. Water or other liquids entering a power
tool will increase the risk of electric shock.
• Never run the unit without the proper
equipment attached. When used as a vacu-
um, always install vacuum tubes and collection
bag assembly. Make sure the collection bag
2. Assembly
WARNING:
inlet cover or attempting to install or remove the blower tube or vacuum tubes.
The motor must be stopped and the impeller blades no longer turning to avoid
serious injury from the rotating blades.
Assembling for blower use:
2 3
Stop the unit and unplug the extension cord before opening the
Fitting the blower tube:
NOTE: A safety switch will prevent the unit from starting if the
1
blower tube
is not installed correctly.
1. Align the grooves on the blower tube
blower outlet
1
2. Push the blower tube
into place.
The blower tube is secured to the blower outlet with the tube
release button
To remove the blower tube
and pull out the blower tube
assembly is completely zipped when unit is
running to avoid flying debris. Use only recom-
mended attachments.
• Do not vacuum discarded matches, cigars,
cigarettes, or ash from fireplaces, barbecue
pits, brush piles, etc.
Avoid situations which could set the collection
bag on fire. To avoid spreading fire, do not use
blower near leaf or brush fires, fireplaces,
barbecue pits, ashtrays, etc.
• Always use the shoulder strap when
vacuuming. This will help maintain control of
the power tool.
• Check air intake openings, elbow tube,
and vacuum tubes frequently, always with
the unit stopped and the power source
disconnected. Keep vents and tubes free of
debris which can accumulate and restrict
proper air flow. Do not use with any opening
blocked. Keep free of dust, lint, hair and
anything that may reduce air flow.
Additional Safety Recommendations
Danger! Small parts could be swallowed during
assembly and there is a risk of suffocation from
the polybag. Keep infants away during assembly.
Warning! This machine produces an electro-
magnetical field during operation. This field may
under some circumstances interfere with active
or passive medical implants. To reduce the risk
of serious or fatal injury, we recommend persons
with medical implants to consult their physician
and the medical implant manu facturer before
operating this machine.
2
.
1
onto the blower outlet
3
.
1
, press the tube release button
1
at the same time.
1
with the grooves on the
2
until it snaps
3
19
