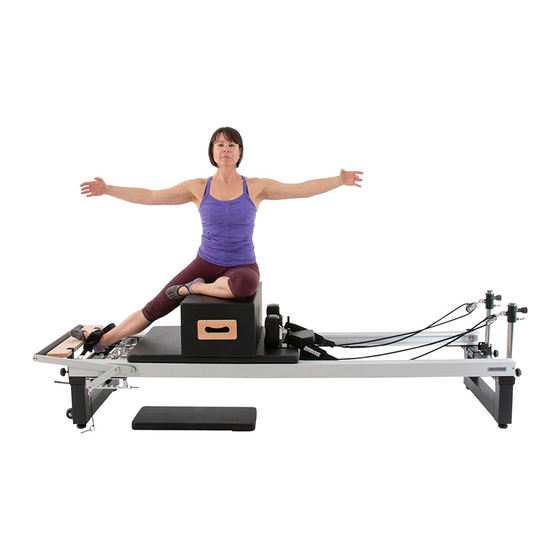
Align-Pilates A2RII Reformer 조립 설명서 및 사용 설명서 - 페이지 4
{카테고리_이름} Align-Pilates A2RII Reformer에 대한 조립 설명서 및 사용 설명서을 온라인으로 검색하거나 PDF를 다운로드하세요. Align-Pilates A2RII Reformer 12 페이지.

Attaching the Rope Risers
Once the rope risers are bolted on, slide on the rope pulley holders (Fig. 7) on to each rope riser. Note: if using a Half
Cadillac the rope pulley holder can be installed on to Half Cadillac frame as an
alternative to installing on the rope riser. If using the reformer only, secure the rope risers in a vertical
position: to do this first ensure they are fully dropped down and then secure in position by tightening the riser fastener
as in Fig. 8. Please note: when using a Half Cadillac and mattress insert the rope riser can be folded down under the
carriage by loosening the riser fastener (Fig.8), lifting the riser and folding down in to the frame – the rope pulleys will
also need to be turned to the side.
Fig. 7
Fig. 6
Fig. 8
Attaching the Foot Bar
Slide the chrome plated Foot Bar selector rod back in to place, putting it in the second
furthest away slot from the leg - do not reinsert the locking pin. First insert one of the cylindri-
cal headed M8 24mm bolts into hole A (Fig 9) of bar and screw in hand tight, then repeat
on the other side. Then using 2 of the 10 small dome bolts and washers, screw these into
hole B as per Fig. 9 below and securely tighten – be particularly careful to get the bolt in
straight to avoid cross threading the bolt in to the aluminium arm. Finally completely tighten
all 4 bolts.
Attaching the Standing Platform
To attach the standing platform, slide the component over the end of the reformer, taking
care to align all of the holes. Screw the 4 long domed bolts (with washers) into the 2 holes
adjacent as per Fig. 10 and hand tighten. Then screw in the remaining 8 small domed bolts
hand tight as in Fig. 11. Once all bolts are in, go back and fully tighten all the bolts
with the Allen key.
Fig. 9
Attaching the Shoulder Rests
Next attach the removable shoulder rests by sliding them into the
shoulder rest receiving holes (Fig. 12). They can be locked in place
by placing the locking pin through the hole at the bottom of the
chrome bar. The locking pins are attached on a string to the underside
of the carriage as shown in Fig.13.
Attach the Handles to the Ropes
The silent double loop straps feature separate
handles for foot & hand for quick transitions. To
attach the straps to the ropes, thread the end
of the strap through the rope eyelet (Fig. 14)
and then thread the handle through the loop
on the end of the strap (Fig. 15 ) and pull tight.
Fig. 10
Fig. 11
To take them off reverse the process.
Fig. 13
Fig. 12
4
