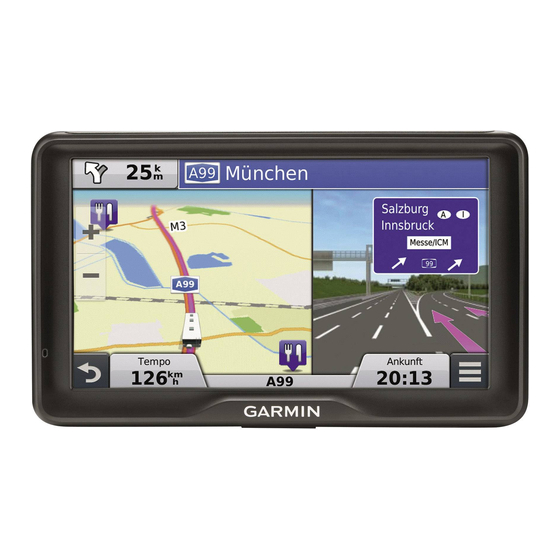
Garmin dezl 760LMT 소유자 매뉴얼 - 페이지 25
{카테고리_이름} Garmin dezl 760LMT에 대한 소유자 매뉴얼을 온라인으로 검색하거나 PDF를 다운로드하세요. Garmin dezl 760LMT 30 페이지.
Garmin dezl 760LMT에 대해서도 마찬가지입니다: 빠른 시작 매뉴얼 (6 페이지)
Cleaning the Touchscreen
1
Use a soft, clean, lint-free cloth.
2
If necessary, apply liquid to the cloth.
You can use water, isopropyl alcohol, or eyeglass lens
cleaner.
3
Gently wipe the screen with the cloth.
Avoiding Theft
• Remove the device and mount from sight when not in use.
• Remove the residue left on the windshield by the suction
cup.
• Do not keep your unit in the glove compartment.
• Register your device at http://my.garmin.com.
Extending the Battery Life
• Keep your device away from extreme temperatures.
• Put the device in sleep mode
• Decrease the screen brightness
• Do not leave your device in direct sunlight.
• Decrease the volume
(page
• Disable Bluetooth
(page
• Shorten the display timeout time
Changing the Fuse in the Vehicle Power
Cable
When replacing the fuse, do not lose any of the small pieces
and make sure they are put back in the proper position. The
vehicle power cable does not work unless it is assembled
correctly.
If your device does not charge in your vehicle, you may need to
replace the fuse located at the tip of the vehicle adapter.
1
Unscrew the end piece
TIP: You may need to use a coin to remove the end piece.
2
Remove the end piece, the silver tip
3
Install a 2 A fast-blow fuse.
4
Place the silver tip in the end piece.
5
Screw the end piece back into the vehicle power cable
Mounting on Your Dashboard
The permanent mounting adhesive is extremely difficult to
remove after it is installed.
Use the mounting disk to mount your device to the dashboard
and comply with certain state regulations. See
for more information.
1
Clean and dry the dashboard where you are placing the disk.
2
Remove the backing from the adhesive on the bottom of the
disk.
3
Place the disk on the dashboard.
4
Remove the clear plastic cover from the top of the disk.
5
Place the suction cup mount on top of the disk.
6
Flip the lever down (toward the disk).
Appendix
(page
2).
(page
17).
2).
17).
(page
17).
NOTICE
.
, and the fuse
NOTICE
www.garmin.com
Removing the Device, Cradle, and Mount
Removing the Device from the Cradle
1
Press the tab on the top of the cradle.
2
Tilt the device forward.
Removing the Cradle from the Mount
1
Turn the cradle to the right or left.
2
Apply pressure until the socket on the cradle releases the
ball on the mount.
Removing the Suction Cup Mount from the
Windshield
1
Flip the lever on the suction cup mount toward you.
2
Pull the tab on the suction cup toward you.
Purchasing Additional Maps
1
Go to your device product page on the Garmin web site
(http://www.garmin.com).
2
Click the Maps tab.
3
Follow the on-screen instructions.
Safety Cameras
Garmin is not responsible for the accuracy of or the
consequences of using a custom point of interest or a safety
camera database.
Safety camera information is available in some locations. Check
http://my.garmin.com
can purchase a subscription for safety camera information. The
subscription includes the locations of hundreds of safety
cameras. Your device alerts you when you are approaching a
safety camera and can warn you if you are driving too fast. The
data is updated at least weekly, so you can update your device
regularly to receive the most up-to-date information.
You can purchase a new region or extend an existing
subscription at any time. Each region that you purchase has an
expiration date.
Custom Points of Interest
Custom POIs are customized points on the map. They can
contain alerts that let you know if you are near a designated
point or if you are traveling faster than a specified speed.
.
Installing POI Loader Software
You can create or download custom POI lists on your computer
and install them on your device using POI Loader software.
.
1
Go to http://www.garmin.com/extras.
2
Click Services > POI Loader.
3
Install the POI Loader onto your computer.
Using the POI Loader Help Files
For more information on the POI loader, refer to the Help file.
With the POI loader open, click Help.
Finding Extras
1
Select Where To? > Categories > Custom POIs.
2
Select a category.
Purchasing Accessories
Go to http://buy.garmin.com.
NOTICE
for availability. For these locations, you
19