Garmin TACX NEO BIKE PLUS 소유자 매뉴얼 - 페이지 9
{카테고리_이름} Garmin TACX NEO BIKE PLUS에 대한 소유자 매뉴얼을 온라인으로 검색하거나 PDF를 다운로드하세요. Garmin TACX NEO BIKE PLUS 34 페이지.

B
Pedals:
Installing Your Pedals, page 7
C
Bottle cage:
Attaching the Bottle Cage, page 9
D
Saddle:
Installing the Saddle, page 10
E
Handlebar with display:
F
Fans with tablet mount:
Alternative tablet mount:
G
Tablet:
Attaching Your Tablet to the Trainer, page 16
Power cable:
Connecting the Power Cable, page 18
H
TIP: For additional customization, see
Assembly Kit
NOTE: The assembly kit contains manuals, bolts, washers, tools, and other parts that are
required for each assembly task.
Installing the Legs on the Trainer
You must have the assembly kit
A
Tacx NEO Bike Plus trainer. Use care when lifting the trainer.
1 Place the trainer on the floor, and tilt it back to install the front legs
2 Open the assembly kit
3 Use the M10 x 90 mm bolt
the front legs.
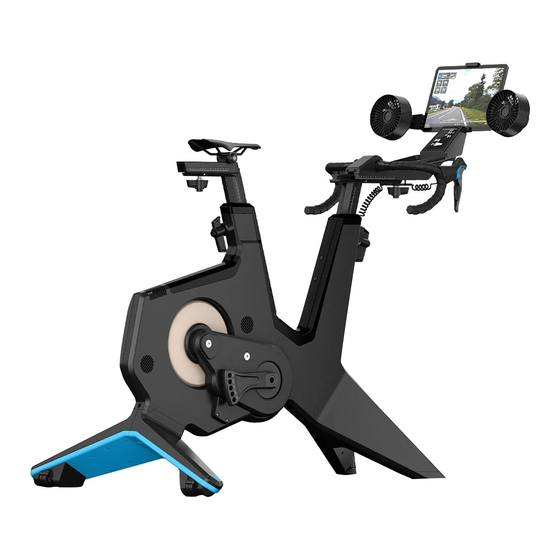
Tacx NEO Bike Plus Assembly Instructions
Installing the Handlebar, page 12
Installing the Fans with Tablet Mount, page 14
Installing the Tablet Mount, page 24
Device Information,
for this task. You must have at least two people to assemble the
.
, M10 x 130 mm bolt
page 23.
, 10 mm washers
, and the 8 mm hex key to install
.
5
