Garmin 010-01338-2A 소유자 매뉴얼 - 페이지 8
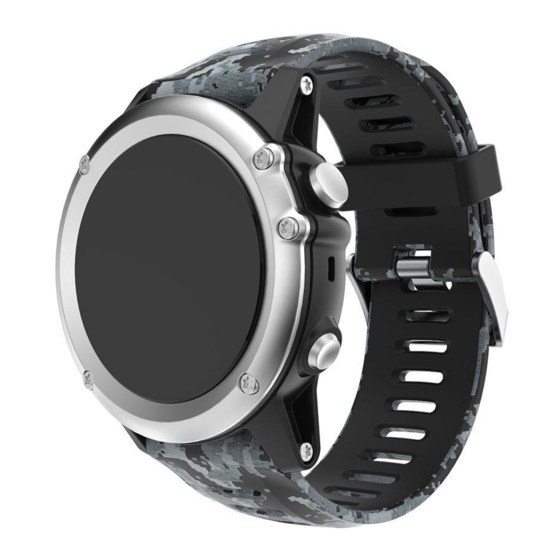
{카테고리_이름} Garmin 010-01338-2A에 대한 소유자 매뉴얼을 온라인으로 검색하거나 PDF를 다운로드하세요. Garmin 010-01338-2A 28 페이지. Gps watch garmin fenix 3

Going for an Open Water Swim
Before you go for a swim, you should charge the device
(Charging the
Device).
1
From the clock, select START.
2
Select Open Water.
3
Go outside, and wait while the device locates satellites.
4
Select START to start the timer.
History is recorded only while the timer is running.
5
Start your activity.
6
Select LAP to record an interval (optional).
7
Select UP or DOWN to view additional data pages (optional).
8
After you complete your activity, select STOP > Save.
Multisport
Triathletes, duathletes, and other multisport competitors can
take advantage of the multisport activity. During a multisport
activity, you can transition between activities and continue to
view your total time and distance. For example, you can switch
from biking to running and view your total time and distance for
biking and running throughout the multisport activity.
You can customize a multisport activity, or you can use the
default multisport activity set up for a standard triathlon.
Starting a Triathlon or Multisport Activity
Before you start an activity, you should charge the device
(Charging the
Device). Before you can use an ANT+ sensor, you
must pair the sensor with your device
1
Pair your ANT+ sensors, such as a foot pod or heart rate
monitor (optional).
2
From the clock, select START.
3
Select Triathlon or a custom multisport activity.
4
Go outside, and wait while the device locates satellites.
5
Select START to start the timer.
History is recorded only while the timer is running.
6
Start your first activity.
7
Select LAP to transition to the next activity.
If transitions are turned on, the transition time is recorded
separately from the activity times.
8
If necessary, select LAP to start the next activity.
9
Select UP or DOWN to view additional data pages (optional).
10
After you complete your activity, select STOP > Save.
Creating a Custom Activity
1
Hold UP.
2
Select Settings > Apps > Add New.
3
Select an activity type.
NOTE: If you are creating a custom multisport activity, you
are prompted to select two or more activities and include
transitions.
4
If necessary, select an accent color.
5
If necessary, select an icon.
6
Select a name or enter a custom name.
Duplicate activity names include a number, for example:
Triathlon(2).
7
Select an option:
• Select Use Default to create your custom activity starting
from the default system settings.
• Select a copy of an existing activity to create your custom
activity starting from one of your saved activities.
8
If necessary, select the GPS mode.
9
Select an option:
4
(Pairing ANT+
Sensors).
• Select Done to save and use the custom activity.
• Select Edit Settings to customize specific activity
settings.
Indoor Activities
The fēnix 3 device can be used for training indoors, such as
running on an indoor track or using a stationary bike.
GPS is turned off for indoor activities. When running with GPS
turned off, speed, distance, and cadence are calculated using
the accelerometer in the device. The accelerometer is self-
calibrating. The accuracy of the speed, distance, and cadence
data improves after a few outdoor runs using GPS.
Training
Setting Up Your User Profile
You can update your gender, birth year, height, weight, heart
rate zone, and power zone settings. The device uses this
information to calculate accurate training data.
1
Hold UP.
2
Select My Stats > User Profile.
3
Select an option.
Fitness Goals
Knowing your heart rate zones can help you measure and
improve your fitness by understanding and applying these
principles.
• Your heart rate is a good measure of exercise intensity.
• Training in certain heart rate zones can help you improve
cardiovascular capacity and strength.
• Knowing your heart rate zones can prevent you from
overtraining and can decrease your risk of injury.
If you know your maximum heart rate, you can use the table
(Heart Rate Zone
Calculations) to determine the best heart rate
zone for your fitness objectives.
If you do not know your maximum heart rate, use one of the
calculators available on the Internet. Some gyms and health
centers can provide a test that measures maximum heart rate.
The default maximum heart rate is 220 minus your age.
About Heart Rate Zones
Many athletes use heart rate zones to measure and increase
their cardiovascular strength and improve their level of fitness. A
heart rate zone is a set range of heartbeats per minute. The five
commonly accepted heart rate zones are numbered from 1 to 5
according to increasing intensity. Generally, heart rate zones are
calculated based on percentages of your maximum heart rate.
Setting Your Heart Rate Zones
The device uses your user profile information from the initial
setup to determine your default heart rate zones. The device
has separate heart rate zones for running and cycling. For the
most accurate calorie data during your activity, set your
maximum heart rate. You can also set each heart rate zone and
enter your resting heart rate manually. You can manually adjust
your zones on the device or using your Garmin Connect
account.
1
Hold UP.
2
Select My Stats > User Profile > Heart Rate Zones.
3
Select Default to view the default values (optional).
The default values can be applied to running and cycling.
4
Select Running or Cycling.
5
Select Preference > Set Custom > Based On.
Training
