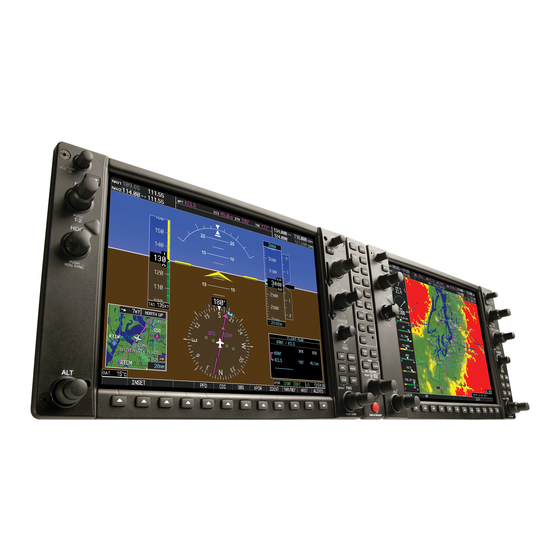
Garmin Cessna Caravan G1000 파일럿 매뉴얼 - 페이지 5
{카테고리_이름} Garmin Cessna Caravan G1000에 대한 파일럿 매뉴얼을 온라인으로 검색하거나 PDF를 다운로드하세요. Garmin Cessna Caravan G1000 25 페이지. Integrated flight deck
Garmin Cessna Caravan G1000에 대해서도 마찬가지입니다: 파일럿 매뉴얼 (16 페이지), 파일럿 매뉴얼 (6 페이지), 파일럿 매뉴얼 (32 페이지), 파일럿 매뉴얼 (34 페이지), 파일럿 매뉴얼 (21 페이지), 비행기 비행 매뉴얼 보충 자료 (33 페이지), 파일럿 매뉴얼 (22 페이지)

COLOR CODE
Frequencies located in the active field are displayed
in either green or white.
• An active frequency that is displayed in green
indicates that the corresponding radio is selected
(i.e., in use) on the audio panel (COM) or on the
HSI (NAV).
• An active frequency that is displayed in white indi-
cates that the corresponding radio is not selected on
the audio panel (COM) or on the HSI (NAV).
NOTE: In GPS mode, both active NAV frequencies
are displayed in white.
Frequencies located in the standby field are displayed
in either white or gray.
• The standby frequency that appears in the tuning
box is displayed in white.
• The standby frequency that is not in the tuning box
is displayed in gray.
TUNING BOX
On both the PFD and the MFD, a cyan (i.e., light blue)
tuning box appears around the standby frequency field
and can be moved from one standby frequency field to
another for the purpose of tuning or radio selection by
pressing the dual COM or NAV knob.
Frequency Toggle Arrow
Figure 4.1.3 Frequency Toggle Arrow and Tuning Box
190-00445-00 Rev. A
Tuning Box
Garmin G1000 VHF NAV/COM Pilot's Guide for Mooney M20M & M20R
FREQUENCY TOGGLE ARROW
In both the COM and NAV windows, a Frequency
Toggle Arrow appears next to the tuning box, between
the active and standby frequencies. Pressing the dual
COM or NAV knob toggles both the frequency tuning box
and the Frequency Toggle Arrow between the radios.
NOTE: If the frequency tuning box is on a
selected COM sub-window when a signal
is received or transmitted for this radio, the
Frequency Toggle Arrow is replaced by an RX
or a TX indication, respectively.
NOTE: Pressing the Frequency Toggle key places
this standby frequency into the active field, and
vice versa.
RADIO STATUS INDICATIONS
• RX – When a signal is received on a COM radio,
a white RX indication appears to the right of the
corresponding COM frequency for the duration of
the signal reception.
• TX – When a COM radio is keyed, a white TX
indication appears to the right of the correspond-
ing COM frequency for the duration of the signal
transmission.
• ID – When the Morse code identifier is ON for a
NAV radio, a white ID indication appears to the
left of the corresponding active NAV frequency and
the Morse code identifier for this frequency can be
heard if the corresponding NAV radio is selected on
the audio panel.
INTRODUCTION
4-3
