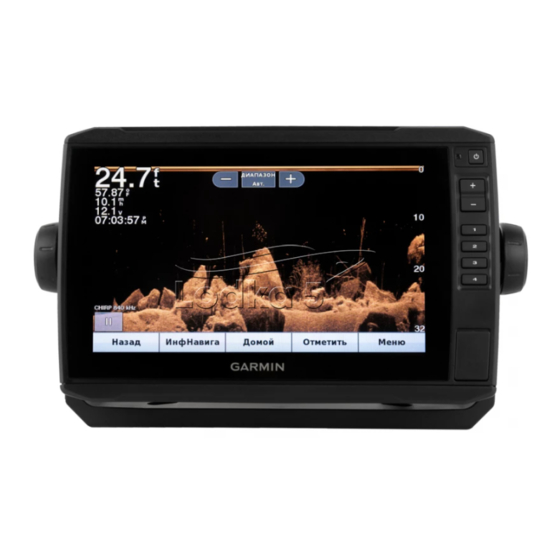
Garmin echomap 40 series 소유자 매뉴얼 - 페이지 29
{카테고리_이름} Garmin echomap 40 series에 대한 소유자 매뉴얼을 온라인으로 검색하거나 PDF를 다운로드하세요. Garmin echomap 40 series 50 페이지. Vhf comm
Garmin echomap 40 series에 대해서도 마찬가지입니다: 설치 지침 매뉴얼 (15 페이지), 소유자 매뉴얼 (32 페이지), 적합성 선언 (1 페이지), 파일럿 매뉴얼 (22 페이지), 소유자 매뉴얼 (30 페이지)
Restore Sonar Defaults: Restores the factory default settings
for the sonar view.
Transducer Type: Allows you to select the type of transducer
that is connected to the device.
Shift: Allows you to set the depth range on which the sonar is
focused. This enables you to zoom in to an area within the
focused depth.
Flip Left/Right: Changes the orientation of the SideVü sonar
view when the transducer is installed backward.
Flipped: Sets the orientation of the Panoptix sonar view when
the transducer is installed with the cables pointing toward the
port side of the boat.
Beam Width: Sets the width of the Panoptix transducer beam.
Narrow beam widths allow you to see deeper and farther.
Wider beam widths allow you to see more coverage area.
Use AHRS: Allows the internal attitude heading and reference
system (AHRS) sensors to detect the installation angle of the
Panoptix transducer. When this setting is turned off, it is
assumed the transducer is installed at a 45-degree angle.
Sonar Frequencies
NOTE: The frequencies available depend on the chartplotter,
sounder modules, and transducer being used.
Adjusting the frequency helps adapt the sonar for your particular
goals and the present depth of the water.
Higher frequencies use narrow beam widths, and are better for
high-speed operation and rough sea conditions. Bottom
definition and thermocline definition can be better when using a
higher frequency.
Lower frequencies use wider beam widths, which can let the
fisherman see more targets, but could also generate more
surface noise and reduce bottom signal continuity during rough
sea conditions. Wider beam widths generate larger arches for
fish target returns, making them ideal for locating fish. Wider
beam widths also perform better in deep water, because the
lower frequency has better deep water penetration.
CHIRP frequencies allow you to sweep each pulse through a
range of frequencies, resulting in better target separation in
deep water. CHIRP can be used to distinctly identify targets, like
individual fish in a school, and for deep water applications.
CHIRP generally performs better than single frequency
applications. Because some fish targets may show up better
using a fixed frequency, you should consider your goals and
water conditions when using CHIRP frequencies.
Some sonar black boxes and transducers also provide the ability
to customize preset frequencies for each transducer element,
which enables you to change the frequency quickly using the
presets as the water and your goals change.
Viewing two frequencies concurrently using the split-frequency
view allows you to see deeper with the lower frequency return
and, at the same time, see more detail from the higher
frequency return.
Selecting Frequencies
NOTE: You cannot adjust the frequency for all sonar views and
transducers.
You can indicate which frequencies appear on the sonar screen.
1
From a sonar view, select MENU > Frequency.
2
Select a frequency suited to your needs and water depth.
For more information on frequencies, see
Frequencies, page
23.
Creating a Frequency Preset
NOTE: Not available with all transducers.
You can create a preset to save a specific sonar frequency,
which allows you to change frequencies quickly.
Sonar Fishfinder
1
From a sonar view, select MENU > Frequency.
2
Select Add.
3
Enter a frequency.
Turning On the A-Scope
NOTE: This feature is available in the Traditional sonar views.
The a-scope is a vertical flasher along the right side of the view,
showing you what is underneath the transducer right now. You
can use the a-scope to identify target returns that may be
missed when the sonar data is quickly scrolling across the
screen, such as when your boat is moving at high speeds. It can
also be helpful for detecting fish that are close to the bottom.
The a-scope above shows fish returns
return
1
From a sonar view, select MENU > Sonar Setup >
Appearance > A-Scope.
2
Select a hold time.
You can increase the hold time to increase the length of time
the sonar returns are displayed.
Panoptix Sonar Setup
Adjusting the RealVü Viewing Angle and Zoom Level
You can change the viewing angle of the RealVü sonar views.
You can also zoom in and out of the view.
From a RealVü sonar view, select an option:
• To adjust the viewing angle, use the arrow keys.
• To zoom in and out, turn the knob.
Adjusting the RealVü Sweep Speed
You can update how quickly the transducer sweeps back and
forth. A faster sweep rate creates a less detailed image, but the
screen refreshes faster. A slower sweep rate creates a more
detailed image, but the screen refreshes more slowly.
NOTE: This feature is not available for the RealVü 3D Historical
sonar view.
1
From a RealVü sonar view, select MENU > Sweep Speed.
2
Select an option.
LiveVü Forward and FrontVü Sonar Menu
From the LiveVü Forward or FrontVü sonar view, select MENU.
Gain: Controls the level of detail and noise shown on the sonar
screen.
If you want to see the highest intensity signal returns on the
screen, you can lower the gain to remove lower intensity
returns and noise. If you want to see all return information,
you can increase the gain to see more information on the
screen. This also increases noise, and can make it more
difficult to recognize actual returns.
Depth Range: Adjusts the range of the depth scale.
Sonar
Allowing the device to adjust the range automatically keeps
the bottom within the lower portion of the sonar screen, and
can be useful for tracking a bottom that has minimal or
moderate terrain changes.
Manually adjusting the range enables you to view a specified
range, which can be useful for tracking a bottom that has
large terrain changes, such as a drop-offs or cliffs. The
.
and a soft bottom
23