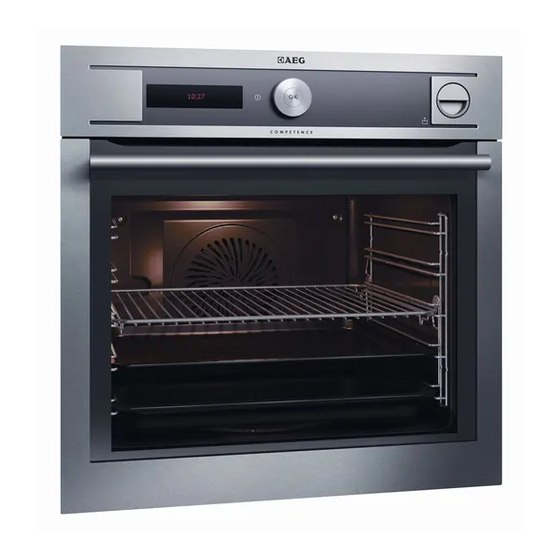
AEG ProCombi BS9304001 사용자 설명서 - 페이지 40
{카테고리_이름} AEG ProCombi BS9304001에 대한 사용자 설명서을 온라인으로 검색하거나 PDF를 다운로드하세요. AEG ProCombi BS9304001 44 페이지. Oven
AEG ProCombi BS9304001에 대해서도 마찬가지입니다: 사용자 설명서 (36 페이지), 사용자 설명서 (36 페이지), 사용자 설명서 (48 페이지), 사용자 설명서 (48 페이지)

40 www.aeg.com
Removing the shelf supports
1.
Carefully pull the supports up and
out of the front catch.
2.
Lightly move the supports on the
front catch inwards.
3.
Pull the supports out of the rear
catch.
Installing the shelf supports
Install the shelf supports in the opposite
sequence.
12.3 Steam generation system
CAUTION!
Dry the steam generator after
each use. Remove the water with
the sponge.
Remove the limescale with water
and vinegar.
CAUTION!
Chemical de-scaling agents can
cause damage to the enamel.
Follow the instructions of the
manufacturer.
Cleaning the water drawer and the
steam generator:
1.
Put the water and vinegar mixture
(approximately 250 ml) through the
water drawer into the steam gener-
ator. Wait for approximately 10 mi-
nutes.
2.
Remove the water and vinegar with
the sponge.
1
3
2
3.
Put clean water (100 - 200 ml) into
the water drawer to flush the steam
generation system.
4.
Remove the water from the steam
generator with the sponge and rub it
dry.
5.
Keep the door open to let the appli-
ance dry fully.
12.4 Lamp
WARNING!
There is a risk of electrical shock.
The lamp and the lamp glass
cover can be hot.
Before you change the lamp:
• Deactivate the appliance.
• Remove the fuses from the fuse box or
deactivate the circuit breaker.
CAUTION!
Put a cloth on the bottom of the
interior of the appliance. It pre-
vents damage to the lamp glass
cover and the cavity.
Always use the same lamp type.
Replacing the lamp at the cavity
ceiling:
1.
Turn the lamp glass cover counter-
clockwise to remove it.
2.
Clean the glass cover.
3.
Replace the lamp with a suitable 300
°C heat-resistant lamp.
4.
Install the glass cover.
Replacing the lamp on the left side of
the cavity:
1.
Remove the left shelf support.
2.
Use a Torx 20 screwdriver to remove
the cover.
3.
Remove and clean the metal frame
and the seal.
4.
Replace the lamp with a suitable 300
°C heat-resistant lamp.
5.
Install the metal frame and the seal.
Tighten the screws.
6.
Install the left shelf support.
