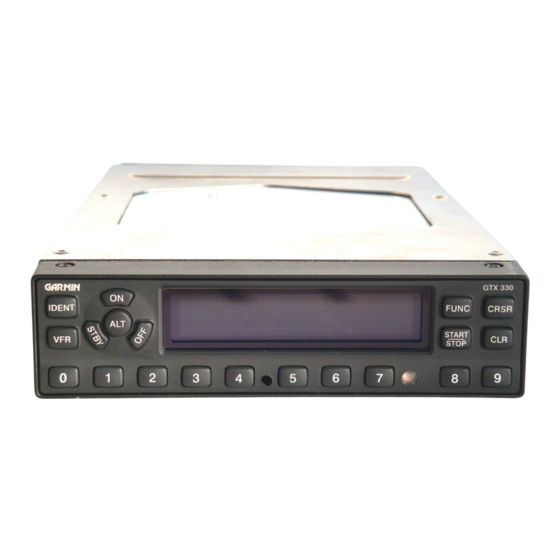
Garmin GTX GTX 330D 파일럿 매뉴얼 부록 - 페이지 15
{카테고리_이름} Garmin GTX GTX 330D에 대한 파일럿 매뉴얼 부록을 온라인으로 검색하거나 PDF를 다운로드하세요. Garmin GTX GTX 330D 50 페이지. Mode s transponder
Garmin GTX GTX 330D에 대해서도 마찬가지입니다: 파일럿 매뉴얼 부록 (50 페이지), 파일럿 매뉴얼 (13 페이지), 파일럿 매뉴얼 (13 페이지), 설치 매뉴얼 (49 페이지)

Part Two:
XM Radio
Section 1: Introduction
Overview
The GDL 69 is a remote sensor that receives
broadcast weather data from a data service of XM Sat-
ellite Radio, Inc. The GDL 69A is similar to the GDL
69, but also receives audio entertainment broadcasts
from another service of XM Satellite Radio. The 400W
and 500W series units serve as the display and control
head for your remotely mounted GDL 69/69A satellite
radio.
Before the GDL 69/69A can be used, the unit
must be activated by XM Satellite Radio with a service
subscription through XM Satellite Radio. Please note
that the GDL 69 is a weather data link. The GDL 69A
is a weather data link and audio receiver. The data link
service and the audio entertainment services must be
activated separately.
Your GDL 69 or GDL 69A is shipped with one
or two radio hardware identifications, respectively.
These IDs serve as identification codes for your XM-
equipped GDL 69/69A and are needed in the activa-
tion process. The ID(s) is (are) attached to the Activa-
tion Instructions and printed on a label on the back of
the unit. The IDs can also be retrieved through your
unit in the XM Information page of the Aux function.
Contact your dealer or customer service if you are
unable to locate the radio hardware IDs.
Weather and/or audio data from your GDL 69/69A
are provided by XM Satellite Radio, a company
separate and independent from Garmin Corporation.
Have your radio hardware IDs ready before contact-
ing XM Satellite Radio. During the process, you can
select services for subscription. Keep in mind that the
GDL 69 has no audio capability, audio services will not
be available with the unit.
Follow the GDL 69/69A XM Satellite Radio Activa-
tion Instructions (190-00355-04) enclosed with your
GDL 69/69A unit to activate the XM products.
XM Radio Pages
To reach the XM pages:
1.
From any page, press and hold CLR to select
the Default NAV Page. (You may skip this step
if you are already viewing any of the main
pages.)
2.
Turn the large right knob to select the AUX
page group. "AUX" appears in the lower right
corner of the screen.
3.
Turn the small right knob to select the XM
Audio, XM Information, or XM WX Timestamps
pages.
XM Weather page is displayed in the NAV page
group. The XM Audio function pages are displayed in
the AUX page group.
XM NAV Pages
When a GDL 69 or GDL 69A is installed, the fol-
lowing XM-related pages appear in the NAV group of
pages:
• Map Page. The Map page (the second page
in the NAV page group) becomes capable of
displaying weather data and the boundaries
of areas with Temporary Flight Restrictions
(TFRs).
• XM Weather Page. The XM Weather page is
inserted as the third page of the NAV page group,
immediately after the Map page. This page is
like the map page, but can show either NEXRAD
weather data or colored flags showing which
airports have METARs (current weather observa-
tions—Meteorological Aerodrome Reports).
Part Two: Section 1
XM Radio Introduction
11
