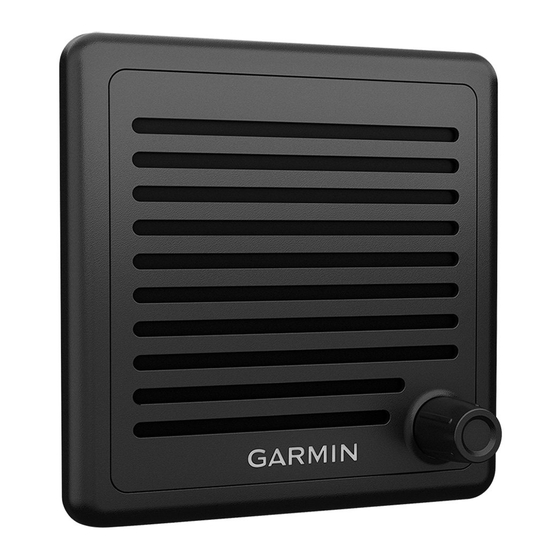
Garmin VHF 315 Series 설치 지침 매뉴얼 - 페이지 5
{카테고리_이름} Garmin VHF 315 Series에 대한 설치 지침 매뉴얼을 온라인으로 검색하거나 PDF를 다운로드하세요. Garmin VHF 315 Series 15 페이지.
Garmin VHF 315 Series에 대해서도 마찬가지입니다: 설치 지침 매뉴얼 (6 페이지), 소유자 매뉴얼 (32 페이지)

Installing the Handset Connector in the Mounting Surface
Before drilling a hole to mount the handset connector from the active speaker, you should mount the active
speaker and verify that the cable from the active speaker is long enough to reach the handset-connector
mounting location
(Mounting the Active Speaker, page
If you do not install the active speaker, you must verify that the included extension cable is long enough to
connect to the GHS 11 STATION 1 port on the VHF radio and to the handset-connector mounting location.
You can use the included hardware to mount the handset connector from the active speaker on the dashboard
or other mounting surface. If you do not install the active speaker, you can use the hardware to mount the
handset connector from the included extension cable on the dashboard or other mounting surface.
1 Using the mounting plate
the screw locations.
2 Set the mounting plate aside.
Do not drill through the mounting plate.
7
3 Using a 22 mm (
/
in.) drill bit or hole saw, drill the center cable hole
8
1
4 Using a 3 mm (
/
in.) drill bit, drill the pilot holes.
8
5 Apply marine sealant between the mounting plate and the mounting surface to help seal the holes
(optional).
6 Using the included screws, attach the mounting plate to the mounting surface.
7 Select an option:
• If you installed the active speaker, route the long cable from the active speaker to the connector
mounting location.
• If you did not install the active speaker, connect the female end of the included extension cable to the
GHS 11 STATION 1 port on the VHF radio, and route the male end of the extension cable to the connector
mounting location.
8 Feed the connector
9 Apply marine sealant around the connector in the mounting plate to help seal the hole (optional).
10 Secure the connector to the mounting plate using the weather cap
as a template, trace the cable hole in the center of the mounting plate and mark
through the back of the mounting surface.
4).
in the mounting surface.
and the nut
.
5
