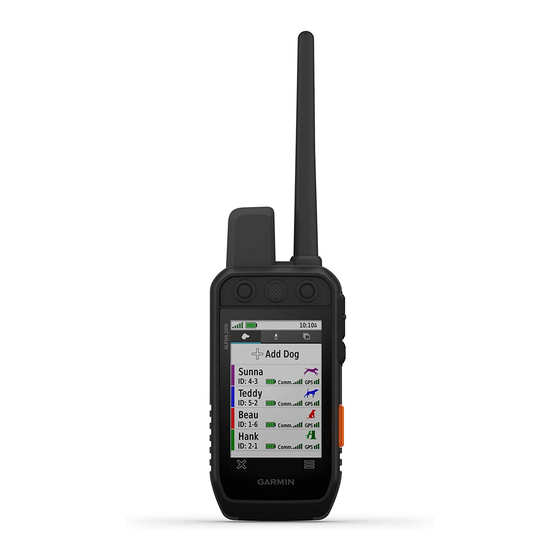
Garmin Alpha 200i 소유자 매뉴얼 - 페이지 23
{카테고리_이름} Garmin Alpha 200i에 대한 소유자 매뉴얼을 온라인으로 검색하거나 PDF를 다운로드하세요. Garmin Alpha 200i 29 페이지. With training

• Before you pair the ANT+ accessory with your Garmin
device, move 10 m (33 ft.) away from other ANT+
accessories.
• Bring the Garmin device within range 3 m (10 ft.) of the ANT+
accessory.
• After you pair the first time, your Garmin device automatically
recognizes the ANT+ accessory each time it is activated. This
process occurs automatically when you turn on the Garmin
device and only takes a few seconds when the accessories
are activated and functioning correctly.
• When paired, your Garmin device receives data from only
your accessory, and you can go near other accessories.
TT 15 Battery Replacement Instructions
TT 15 Components
Back plate
Power key
Battery connector
Battery cover
Battery
Power connector
Removing the Old Battery
Before you replace the battery, you must remove all dirt, water,
and debris from the device. You must also have a small Phillips
screwdriver.
1
Remove the six screws from the outer edges of the back
plate.
NOTE: You should leave the two inner screws in place.
2
Pry off the back plate.
3
Disconnect the battery connector and power connector.
4
Remove the screws that secure the battery cover.
5
Remove the battery cover and the battery.
Remember the orientation of the battery. You must install the
new battery the same way.
After you remove the old battery, contact your local waste
disposal department to properly recycle the battery.
Installing the New Battery
Before you replace the battery, you must remove the old battery
(Removing the Old Battery, page
small Phillips screwdriver. You may need a small flat
screwdriver.
1
Install the new battery using the same orientation as the old
battery.
The connector
should face the end nearest the power key,
and the bump
where the wires connect to the battery
should face toward the side with the charging clip contacts.
Appendix
19). You also must have a
2
Replace the battery cover.
3
Replace the screws to secure the battery cover.
4
Connect the battery connector and power connector.
You may need to use a flat screwdriver to help secure the
connectors.
5
Select the power key to test the connections.
When properly connected, a tone is emitted and the status
LED blinks green.
6
Turn off the device.
7
Verify the gasket located inside the bottom cover is fully
seated.
8
Replace the back plate.
9
Replace the six screws to secure the back plate.
After you install the new battery, charge the collar completely.
Replacing the TT 15 mini Dog Collar Device Battery
Before you can replace the battery, you must remove all dirt,
water, and debris from the device. You also need a small
Phillips screwdriver and the security screwdriver included in the
battery replacement kit.
1
Remove the screws from the L-shaped cover over the VHF
antenna.
2
Pry off the L-shaped cover.
3
Remove the screws from the outer edges of the back plate.
4
Pry off the back plate.
5
Grip the battery connector wires close to the connector, and
pull the connector perpendicular to the circuit board to
disconnect the battery connector from the device.
6
Grip the power connector wires close to the connector, and
pull the connector parallel to the circuit board to disconnect
the power connecter from the device.
7
Remove the screws from the battery plate.
8
Remove the battery plate.
9
Remove the battery.
The battery fits tightly. It may be necessary to pry the battery
out of the back plate using a non-sharp, non-metal object.
10
Install the new battery into the front enclosure with the label
side of the battery facing up, and the leading edge of the
battery placed under the charging contact ledge of the
device.
11
Replace the battery plate, and replace and tighten the two
screws.
19
