Brother DCP 8085DN 빠른 설정 매뉴얼 - 페이지 11
{카테고리_이름} Brother DCP 8085DN에 대한 빠른 설정 매뉴얼을 온라인으로 검색하거나 PDF를 다운로드하세요. Brother DCP 8085DN 23 페이지. Laser fax/mfc
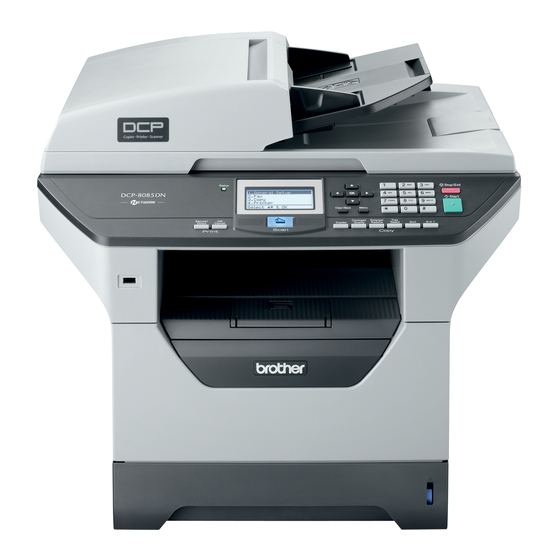
Brother DCP 8085DN에 대해서도 마찬가지입니다: 빠른 설정 매뉴얼 (30 페이지), 부품 참조 목록 (39 페이지), 서비스 업데이트 정보 (15 페이지), 서비스 매뉴얼 (18 페이지)
Parallel
For Parallel Interface Users
®
(Windows
2000 Professional/XP/XP Professional x64 Edition)
12
Before you install
a
Make sure that your computer is ON and you
are logged on with Administrator rights.
b
Turn off and unplug the machine from the AC
outlet and disconnect it from your computer, if
you already connected an interface cable.
13
Install MFL-Pro Suite
a
Put the supplied CD-ROM into your CD-ROM
drive. If the model name screen appears,
choose your machine. If the language screen
appears, choose your language.
Note
If the Brother screen does not appear
automatically, go to My Computer (Computer),
double-click the CD-ROM icon, and then
double-click Start.exe.
b
The CD-ROM main menu will appear. Click
Initial Installation.
c
Click Install MFL-Pro Suite.
d
When the ScanSoft™ PaperPort™ 11SE
License Agreement window appears, click
Yes if you agree to the Software
License Agreement.
e
The installation of ScanSoft™ PaperPort™
11SE will automatically start and is followed by
the installation of MFL-Pro Suite.
f
When the Brother MFL-Pro Suite Software
License Agreement window appears, click
Yes if you agree to the Software
License Agreement.
g
Choose Local Connection, and then click
Next. The installation continues.
h
If you do not want to monitor the machine
status and error notifications from your
computer, uncheck Enable Status Monitor
and then click Next.
i
When this screen appears, go to the next step.
14
Connect the Parallel
cable
IMPORTANT
Connect the machine directly to your
computer.
a
Connect the Parallel interface cable to your
computer, and then connect it to the machine.
®
Windows
11