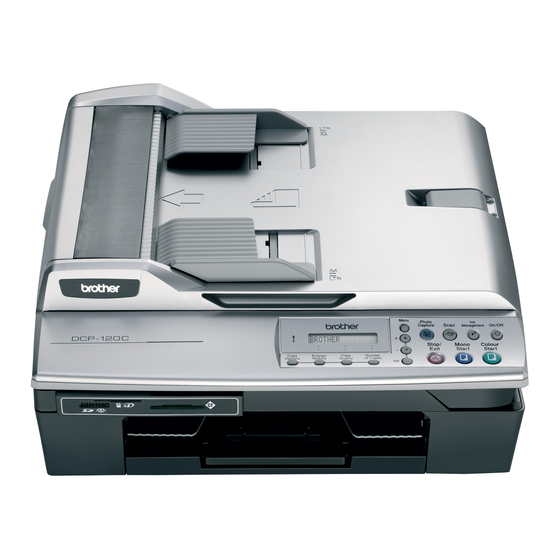
Brother DCP-115C 빠른 설정 매뉴얼 - 페이지 10
{카테고리_이름} Brother DCP-115C에 대한 빠른 설정 매뉴얼을 온라인으로 검색하거나 PDF를 다운로드하세요. Brother DCP-115C 33 페이지. Brother dcp-115c: quick start
Brother DCP-115C에 대해서도 마찬가지입니다: 빠른 설정 매뉴얼 (40 페이지), 빠른 시작 매뉴얼 (33 페이지)

STEP1
Setting Up the Machine
7
Print quality check
1
After the cleaning cycle is finished, the LCD
shows:
Set Paper and
Press Start
2
Make sure the paper is loaded in the paper
tray.
Press Colour Start.
The machine starts printing the Print Quality
Check Sheet (only during initial ink cartridge
installation).
3
Check the quality of the four colour blocks on
the sheet.
(black/ cyan/ yellow/ magenta)
1. Check the quality of the four-color blocks formed by the short lines.
2. If all the short lines are clear and visible, the quality is acceptable. the quality is acceptable.
Select (Yes). If you can see missing short lines, select (No) to begin the color cleaning process
and follow the prompts on the LCD.
Improper Setup
Avoid touching the printed surface of the
paper immediately after printing, the surface
may not be completely dry and may stain your
fingers.
4
The LCD shows:
Is Quality OK?
a Yes b No
8
q
Print Quality Check
q
5
Do one of the following:
If all lines are clear and visible, press a
(Yes) to finish the quality check.
If you can see missing short lines, press b
(No) and go to step 6.
OK
6
The LCD asks you if the print quality is OK for
black and colour. Press a (Yes) or b (No) .
Black OK?
q
a Yes b No
After pressing a (Yes) or b (No) for both black
and colour, the LCD shows:
Start Cleaning?
q
a Yes b No
7
Press a (Yes), the machine will then start
cleaning the colours.
8
After cleaning is finished, press Colour Start.
The machine starts printing the Print Quality
Check Sheet again and goes back to step 3.
Poor
