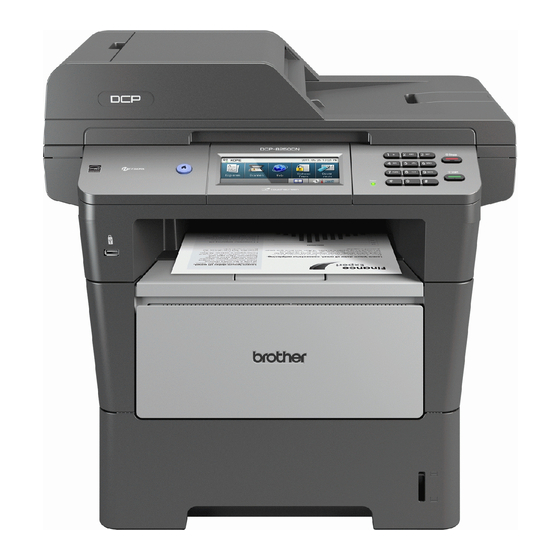
Brother DCP-8250DN 매뉴얼 - 페이지 13
{카테고리_이름} Brother DCP-8250DN에 대한 매뉴얼을 온라인으로 검색하거나 PDF를 다운로드하세요. Brother DCP-8250DN 21 페이지. Web connect guide - english
Brother DCP-8250DN에 대해서도 마찬가지입니다: 빠른 설정 매뉴얼 (17 페이지), 고급 사용자 설명서 (44 페이지)

Introduction
Create an account with EVERNOTE
In order to use Brother Web Connect to access an online service, you need to have an account with that
online service. If you do not already have an EVERNOTE
®
EVERNOTE
web site and create an account. After creating an account, log in and use the account once
with a computer before using the Brother Web Connect feature, otherwise you may not be able to access the
service using Brother Web Connect.
If you already have an account, there is no need to create an additional account.
Go to the next procedure. (Registering and deleting accounts on the machine uu page 10)
Registering and deleting accounts on the machine
Enter the account information and configure the machine so that it can access EVERNOTE
communicates with EVERNOTE
your machine's E-mail settings. You can configure the E-mail settings by using your machine's control panel,
Web Based Management or BRAdmin Professional 3. Depending on the internet service provider you are
using, you may need to configure SSL in advance to communicate with EVERNOTE
how to configure the E-mail settings and the SSL settings: uu Network User's Guide.)
Register an account
a
Press Web on your machine's LCD.
If information regarding Internet connection is displayed, press OK. You will be asked if you want to
display this information again in the future. Press Yes or No.
b
Choose EVERNOTE(R).
If a message is displayed prompting you to configure the E-mail server settings, press OK. You can
configure the E-mail settings by using your machine's control panel, Web Based Management or
BRAdmin Professional 3. For information on how to configure the E-mail settings: uu Network User's
Guide).
c
Press Register/Delete Account.
d
Press Register Account.
e
A message is displayed prompting you to enter the destination E-mail address.
Press OK.
f
Enter the destination E-mail address by using the buttons on the LCD.
Press OK.
g
A message is displayed prompting you to enter a name for the account as you want it to be displayed on
the LCD.
Press OK.
®
®
using E-mail. Before you use the EVERNOTE
®
account, use a computer to access the
®
feature, you must configure
1
1
®
. Your machine
®
. (For information on
1
10
1
