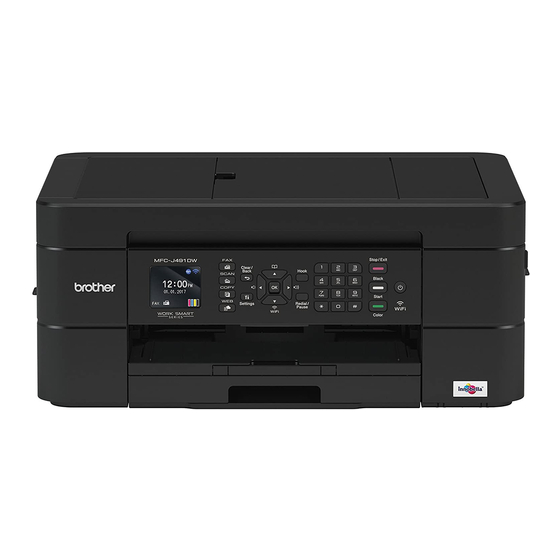
Brother MFC-J895DW 참조 매뉴얼 - 페이지 18
{카테고리_이름} Brother MFC-J895DW에 대한 참조 매뉴얼을 온라인으로 검색하거나 PDF를 다운로드하세요. Brother MFC-J895DW 28 페이지. Brief explanations for routine operations
Brother MFC-J895DW에 대해서도 마찬가지입니다: 매뉴얼 (19 페이지), 빠른 설정 매뉴얼 (2 페이지), 매뉴얼 (22 페이지)

When a print head nozzle is clogged, the
printed sample looks like this.
After the print head nozzle is cleaned, the
lines are gone.
Check the Print
Alignment from Your
Brother Machine
If your printed text becomes blurred or images
become faded after transporting the machine,
adjust the print alignment.
Before adjusting the print alignment, make
a print quality check first by pressing
[Settings] > [Maintenance] >
[Improve Print Quality] > [Check
Print Quality].
1
Press
[Settings] >
[Maintenance] > [Improve Print
Quality] > [Alignment].
2
Press [Next].
3
Press [Yes] after a confirmation
message if a print quality check has
been completed appears on the LCD.
4
Press [Auto] or [Manual].
5
Select the paper size to print the
alignment check sheet on.
• If you are selecting the [Manual]
mode, select either [Basic
alignment] or [Advanced
alignment] in the following step.
6
Load specified size paper in the tray,
and then press [Start].
The machine prints the Alignment
Check Sheet.
7
Follow the instructions on the LCD.
• If you are selecting the [Auto]
mode, the print alignment is
automatically adjusted by scanning
the alignment check sheet.
• If you are selecting the [Manual]
mode, you need to input information
printed on the alignment check sheet
manually.
When the print alignment is not adjusted
correctly, text looks blurry or crooked, like
this.
After the print alignment is adjusted
correctly, text looks like this.
17
