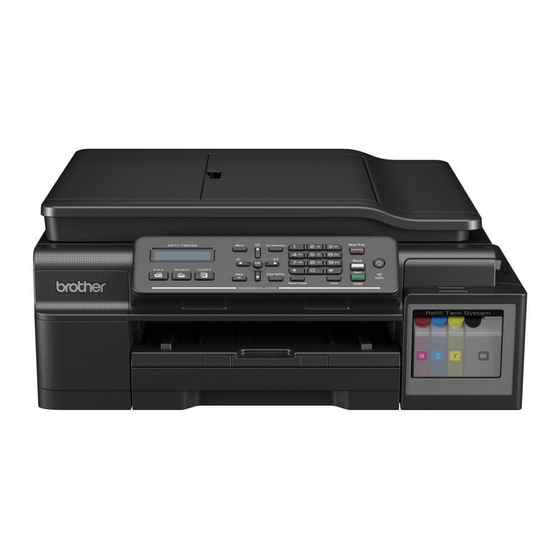
Brother MFC-T800W 빠른 시작 매뉴얼 - 페이지 6
{카테고리_이름} Brother MFC-T800W에 대한 빠른 시작 매뉴얼을 온라인으로 검색하거나 PDF를 다운로드하세요. Brother MFC-T800W 29 페이지.
Brother MFC-T800W에 대해서도 마찬가지입니다: 고급 사용자 설명서 (39 페이지), 고급 사용자 설명서 (40 페이지), 고급 사용자 설명서 (46 페이지)

f
Gently adjust the paper width guides to the
paper with both hands. Make sure that the
paper width guides touch the edges of the
paper.
g
Close the output paper tray cover.
h
Slowly push the paper tray completely into the
machine.
i
While holding the paper tray in place, pull out
the paper support until it clicks, and then unfold
the paper support flap.
5
Check the print quality
a
When the preparation process has finished, the
LCD shows this message
Poner papel y
(Set Paper and)
Pulse Inicio
(Press Inicio)
Press Inicio Color (Color Start).
b
Check the quality of the four color blocks on the
sheet (black/yellow/cyan/magenta).
c
If all lines are clear and visible, press 1 (Sí
(Yes)) to finish the quality check and go to the
next step.
If lines are missing, press 2 (No) and follow the
steps on the LCD.
6
q
6
Set the date and time
The LCD displays the date and time. You can also
add the current date and time to each fax you send by
setting your Station ID (see step 10).
a
When the LCD shows this message, press OK.
Fecha y hora
(Date&Time)
q
Intro Tecla OK
(Enter & OK Key)
b
Enter the last two digits of the year on the dial
pad, and then press OK.
c
Enter the two digits for the month on the dial
pad, and then press OK.
d
Enter the two digits for the day on the dial pad,
and then press OK.
e
Press a or b to choose Reloj 12 h (12h
Clock) or Reloj 24 h (24h Clock), and then
press OK.
f
Enter the time on the dial pad, and then press
OK.
• For Reloj 12 h (12h Clock) only
Press a or b to choose AM or PM, and then
press OK.
NOTE
You can change date, time, or clock type (12h or
24h) at any time. For more information, see
Setting the date and time in the Basic User's
Guide.
