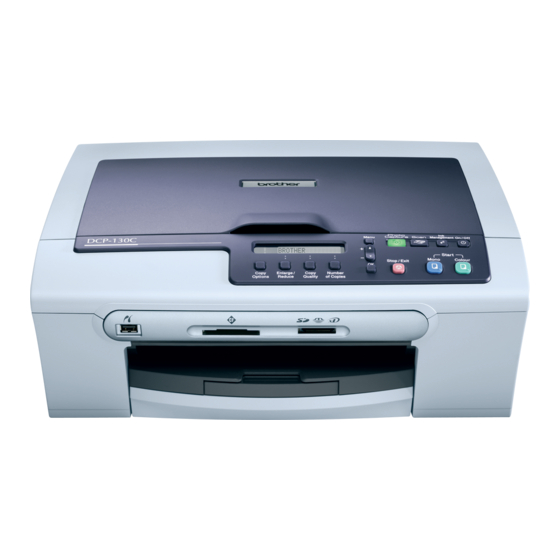
Brother DCP-130C 빠른 설정 매뉴얼 - 페이지 11
{카테고리_이름} Brother DCP-130C에 대한 빠른 설정 매뉴얼을 온라인으로 검색하거나 PDF를 다운로드하세요. Brother DCP-130C 22 페이지. Windows vista
Brother DCP-130C에 대해서도 마찬가지입니다: 사양 시트 (2 페이지), 빠른 설정 매뉴얼 (22 페이지), 설정 매뉴얼 (23 페이지), 빠른 설정 매뉴얼 (24 페이지), 사용자 설명서 (47 페이지), 빠른 설정 매뉴얼 (15 페이지)

7
Setting the LCD contrast
You can adjust the LCD contrast for a sharper and
move vivid display. If you are having difficulty seeing
the LCD from your position, we recommend the
following contrast setting for improved viewing.
1
Press Menu.
2
Press a or b to choose 0.Initial Setup,
and then press OK.
3
Press a or b to choose 2.LCD Contrast,
and then press OK.
4
Press a or b to choose Dark or Light.
5
Press OK.
6
Press Stop/Exit.
Contrast:Light
Contrast:Dark
8
Setting the date and time
Setting the date and time allows the machine to clean
the print head regularly and maintain optimum print
quality. It also allows the machine to name files
created when using the Scan to Card feature.
1
Press Menu.
2
Press a or b to choose 0.Initial Setup,
and then press OK.
3
Press a or b to choose 1.Date/Time, and
then press OK.
Setting Up the Machine
4
Press a repeatedly to enter the last two digits
of the year, and then press OK.
Year:2006
(e.g. Enter 0 6 for 2006.)
5
Press a repeatedly to enter the two digits for
the month, and then press OK.
Month:03
(e.g. Enter 0 3 for March.)
6
Press a repeatedly to enter the two digits for
the day, and then press OK.
Day:01
(e.g. Enter 0 1 for the first of the month.)
7
Press a repeatedly to enter the two digits for
the hour in 24-hour format, and then press OK.
Time:15:XX
(e.g. Enter 1 5 for 3:00 P.M.)
8
Press a repeatedly to enter the two digits for
the minute, and then press OK.
Time:15:25
(e.g. Enter 1 5, 2 5 for 3:25 P.M.)
Note
You can increase or decrease the number rapidly
by holding down a or b.
9
Press Stop/Exit.
Note
If you want to start again, press Stop/Exit to go
back to Step 1.
To confirm the current date and time, print
out the Users Settings Report. (See "Printing
reports" in Chapter 1 of the User's Guide.)
Now go to
Go to Supplied CD-ROM 'MFL-Pro Suite' on
the next page to install the drivers.
9
