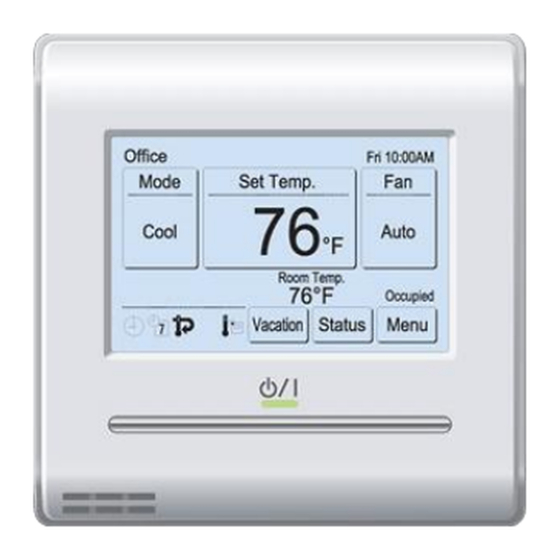
Fujitsu UTY-RNRUZ2 운영 매뉴얼 - 페이지 11
{카테고리_이름} Fujitsu UTY-RNRUZ2에 대한 운영 매뉴얼을 온라인으로 검색하거나 PDF를 다운로드하세요. Fujitsu UTY-RNRUZ2 26 페이지. Remote controller (wired type)
Fujitsu UTY-RNRUZ2에 대해서도 마찬가지입니다: 설치 매뉴얼 (11 페이지)

Notes
• To clear the air flow direction setting of all the displayed
indoor units, touch [Reset]. When [Yes] of the confir-
mation screen is touched, the setting is cleared and
switches to the air flow direction setting of "VT setting"
(Refer to 3-2-1).
• When you want to change the order of the indoor units
displayed on the indoor unit selection screen, consult
your installer or service personnel.
(3) The outlet port selection screen that sets the air flow
direction is displayed. Touch the outlet port to be set.
Check the position of each outlet port based on "
mark of the indoor unit body.
(3)
Indoor Unit 1
Outlet 1
Outlet 2
Outlet 3
Outlet 4
Back
Reset
Notes
• When the air flow direction setting of "VT setting" (Refer
to 3-2-1) is set at the outlet port, "—" is displayed at the
outlet port screen.
• To clear all four outlet port settings, touch [Reset]. When
[Yes] of the confirmation screen is touched, the setting
is cleared and switches to the air flow direction setting
of "VT setting" (Refer to 3-2-1).
(4) The air flow direction setting
screen is displayed. Touch
[ ] or [ ] and set the air flow
direction or "Swing".
When the [OK] is touched, the display returns to the
screen of (3).
When the [Back] is touched at the screen of (3), the
display returns to the screen of (2).
When the [Back] is touched at the screen of (2), the
display returns to the screen of (1).
3-3 Auto Off Timer Setting
When indoor unit operation is started by the Operation but-
ton of this unit, operation stops after the set time.
(1) Touch the [Auto Off Timer
Setting] on the "Main Menu"
screen. When the "Password
Verification" screen was dis-
played, enter the password and
touch [OK].
Enable the Auto Off Timer
(2) "Auto Off Timer" screen is displayed. Touch the [Enable/
Disable] on the "Auto Off Timer" screen.
(3) "Enable/Disable" screen is displayed. Touch the [En-
able].
When the [OK] is touched, the display returns to the "Auto
Off Timer" screen.
"
Position of the mark
Indoor Unit 1
Outlet 1
1
Cancel
OK
Main Manu
Page 1/ 2
Air Flow Direction
Auto Off Timer
Setting
Setting
Weekly Timer
Special Setting
Setting
Next
Monitor
Page
(2)
Auto Off Timer
Fri 10:00AM
Enable /Disable
[Disable]
Operation Stop Time
[In 30 min.]
Time Range Setting
[ – ]
Cancel
OK
Set the Operation Stop Time
(4) Touch the [Operation Stop time] on the "Auto Off Timer"
screen.
(5) The "Operation Stop" time screen is displayed. Set the
time with [ ] or [ ]. The time can be set within the 30
to 240 min. range in 10 min. units.
When the [OK] is touched, the display returns to the "Auto
Off Timer" screen.
(4)
Auto Off Timer
Fri 10:00AM
Enable /Disable
[Enable]
Operation Stop Time
[In 30 min.]
Time Range Setting
[ – ]
Cancel
OK
Set the time range of Auto Off Timer
(6) Touch the [Time Range Setting] on the "Auto Off Timer"
screen.
(7) "Time Range Setting" screen is displayed. Touch the
[Time Range] .
(6)
Auto Off Timer
Fri 10:00AM
Enable /Disable
[Enable]
Operation Stop Time
[In 30 min.]
Time Range Setting
[ – ]
Cancel
OK
(8) "Time Range" is displayed.
When specifying a time range
for the "Auto Off Timer", touch
[Range Spec.] and when
enabling the setting all day,
touch [Continuous].
When the [OK] is touched, the display returns to the
"Time Range Setting" screen. When the [Continuous] is
selected, go to (14).
(9) Touch the [Start Time] on the "Time Range Setting"
screen.
(10) "Start Time" screen is displayed. Set the Start Time by
touching [ ] or [ ] on the "Start Time" screen.
(9)
Time Range Setting
Fri 10:00AM
Time Range
[Range Spec.]
Start Time
[--:--]
End Time
[--:--]
Cancel
OK
When the [OK] is touched, the display returns to the
"Time Range Setting" screen.
Note
Setting screen format corresponds to the preference of
the "Display format Setting".
(3)
Enable/Disable
Enable
Disable
Cancel
OK
(5)
Operation Stop Time
Fri 10:00AM
After the Manual Operation
In
30
min.
Cancel
OK
(7)
Time Range Setting
Fri 10:00AM
Time Range
[Continuous]
Start Time
[--:--]
End Time
[--:--]
Cancel
OK
Time Range
Range Spec.
Continuous
Cancel
OK
(10)
Start Time
Fri 10:00AM
hour
min.
08
40
AM
Cancel
OK
En-10
