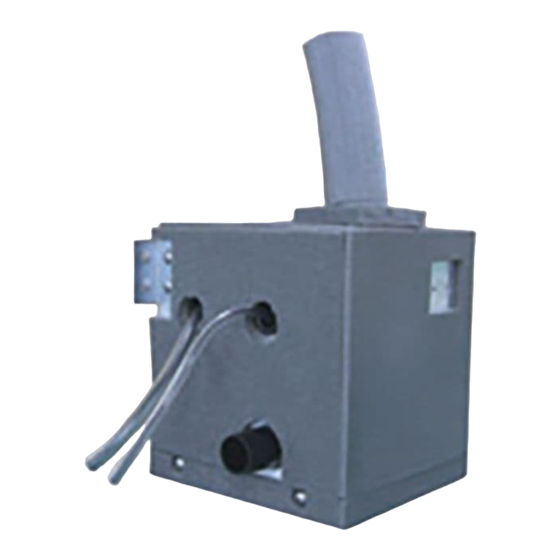
Fujitsu UTZ-PX1NBA 설치 매뉴얼 - 페이지 3
{카테고리_이름} Fujitsu UTZ-PX1NBA에 대한 설치 매뉴얼을 온라인으로 검색하거나 PDF를 다운로드하세요. Fujitsu UTZ-PX1NBA 8 페이지. Optional parts, drain pump unit

5. INSTALLATION PROCEDURES
1. Installing drain pump unit
(1) Use the tapping screw to install the hanger and bracket to the
drain pump unit.
Then, paste the 2 types of insulation.
2 Bracket
5 Insulation
44×20 mm
(1-3/4 × 25/32 in.)
3 Tapping screw
(2) Loosen the nut on the indoor unit and hook the tip of the bracket.
CAUTION
If the nut is too loose, the
hanger may come off and
the indoor unit may fall off.
Loosen the nut as shown in
the right diagram until the tip
of the bolt.
(3) Tighten the nut securely.
Make sure that the drain pump unit is not
slanted.
Bolt Strength
9.8 to 14.7 N•m (87 to 130 lbf•in.)
Hook on
Parallel
GOOD
1 Hanger
4 Insulation
40×26 mm
(1-9/16 × 1 in.)
Hanger
Nut
Detail
1 Hanger
Tip
Run aground
PROHIBITED
(4) Paste the insulation so that the nut and the exposed part of
the bracket are covered.
6 Insulation 35×35 mm
(1-3/8 ×1-3/8 in.)
(5) Thread the hose band through the joint hose and secure to the
drain pump unit and indoor unit.
•
Do not glue the connection part of the joint hose.
Insert
25 (1)
40 (1-9/16)
8 Hose band
(Big)
9 Joint hose
*
Insert it until getting contact with the cabinet when the drain
port is 20 mm (25/32 in.)
CAUTION
Tighten the mounting position and direction of the hose band
as shown below to prevent leakage.
Refrigerant pipe
Indoor unit side
(6) Use special nuts A and B to secure to the hanger of the drain
pump unit.
Hanger bolt
A Special nut B
0 Special nut A
WARNING
Fasten the unit securely with special nuts A and B.
(Unit: mm (in.))
0 to 2
(0 to 0.079)
7 Hose band
(Small)
Drain pump unit side
1 Hanger
En-3
