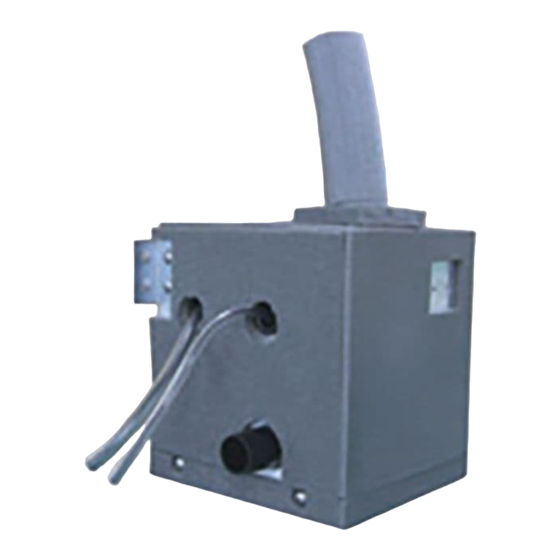
Fujitsu UTZ-PX1NBA 설치 매뉴얼 - 페이지 7
{카테고리_이름} Fujitsu UTZ-PX1NBA에 대한 설치 매뉴얼을 온라인으로 검색하거나 PDF를 다운로드하세요. Fujitsu UTZ-PX1NBA 8 페이지. Optional parts, drain pump unit

[BOARD TYPE D]
D.PUMP
[BOARD TYPE E]
D.PUMP
FLOAT SW
CN106
(Blue)
(3) Install the Control box cover.
Tapping screw
Tapping screws can be fi xed from any position at side/lower
side.
2. Operation outside the control box
(1) Remove 2 screws of the indoor unit and secure the wire
clamp.
(2) Bundle the 2 tubes (wires) of the drain pump unit with a wire
clamp so that the tubes do not sag.
FLOAT SW
CNA05
(Red)
CN106
(Blue)
CN9
(Red)
Tapping screw
Thick tube
E Wire clamp
9 Joint hose
WARNING
Do not allow the tube to come into contact with the refrigerant
pipe or joint hose as it may cause short circuit.
8. TEST RUNNING
• Turn on the power supply and gradually pour 750cc of water
into the drain pan of the indoor unit. Verify that the water is
drained properly.
(As the socket part of the drain pump unit hose is transparent,
you can check the water drainage here.)
Pour water at the end
Drain pan
If the water accumulates in the drain pan of the indoor unit
and does not drain off, it may be due to the following reasons.
Check the construction again.
• The power of the air conditioner is not turned on
• You have forgotten to insert the drain pump/fl oat switch wires
• The indoor unit is slanted
<Water leakage areas>
a: Both ends of the joint hose
(Connection between indoor unit and drain pump unit)
b: Socket part of the drain pump unit
(Connection with locally arranged pipes)
Thin tube
Refrigerant pipe
b
a
En-7
