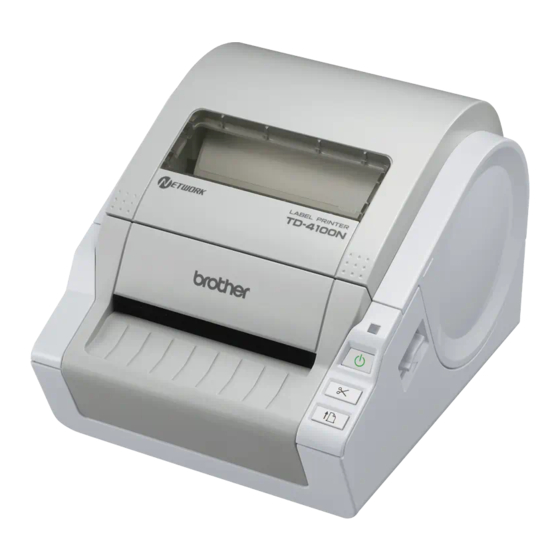
Brother TD-4100N 사용자 설명서 - 페이지 12
{카테고리_이름} Brother TD-4100N에 대한 사용자 설명서을 온라인으로 검색하거나 PDF를 다운로드하세요. Brother TD-4100N 37 페이지. Network users manual - spanish
Brother TD-4100N에 대해서도 마찬가지입니다: 기술 사양 (4 페이지), 소프트웨어 사용 설명서 (40 페이지), 네트워크 사용 설명서 (39 페이지), 사용자 설명서 (36 페이지), 매뉴얼 (20 페이지), (스페인어) 구 (40 페이지), (스페인어) 매뉴얼 델 유저리오 (39 페이지)

9
STEP 1 Getting started
4 Flow for Creating Labels
Labels can be created by using P-touch Editor. For details, see
Guide on the CD-ROM.
Follow the procedure described below to prepare for making labels.
1
Connect the machine to the power source.
For details, see "Connecting the Power Supply" on page 11.
2
Install the software.
Install the printer driver to use the TD-4000/4100N as a printer with the PC and
install the label design software.
For TD-4000, see "Installing the Software for TD-4000" on page 15.
For TD-4100N, see "Installing the Software for TD-4100N" on page 17.
3
Specify the paper or label size.
The label width and length, and the label spacing can be specified from the printer
properties.
For details, see the Software User's Guide on the CD-ROM.
4
Print labels.
•
Printing from the P-touch Editor
Start the P-touch Editor to create labels.
•
Printing from other applications
Choose [File] - [Print]. (The printing procedure may differ depending on the
application being used).
For details, see the Software User's Guide on the CD-ROM.
the Software User's
