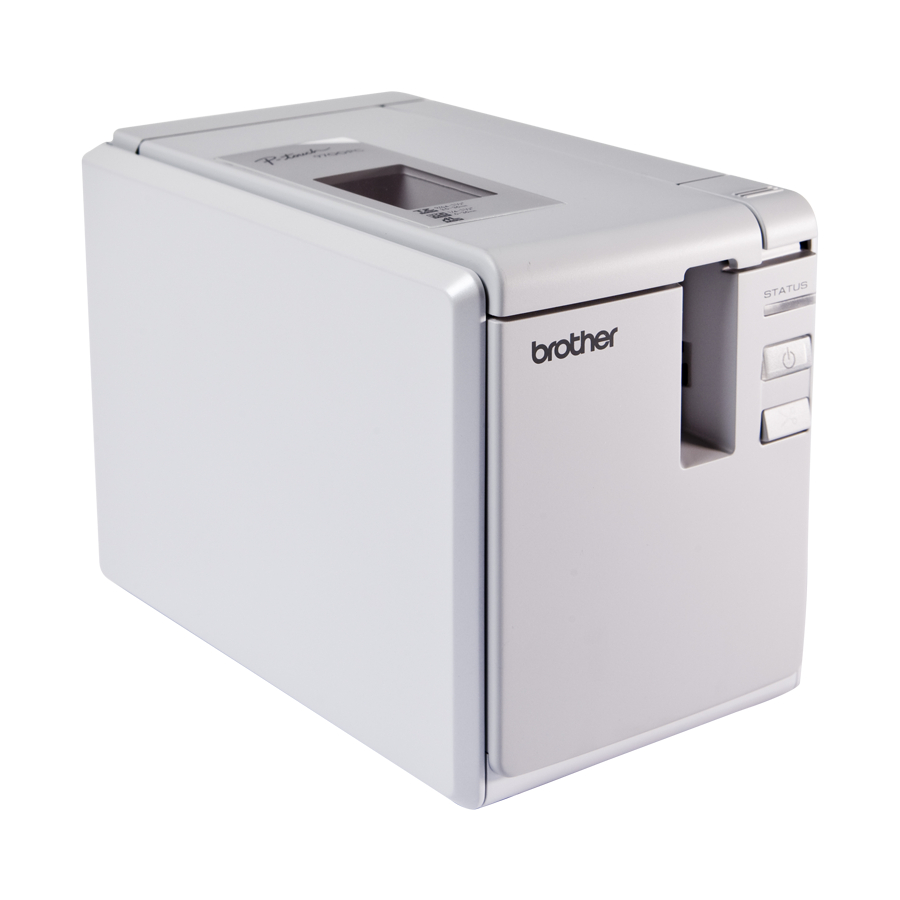
Brother P-TOUCH 98OOPCN 사용자 설명서 - 페이지 16
{카테고리_이름} Brother P-TOUCH 98OOPCN에 대한 사용자 설명서을 온라인으로 검색하거나 PDF를 다운로드하세요. Brother P-TOUCH 98OOPCN 48 페이지.

Installing the tape cassette
This section lists the types of tape that may be used with the printer and explains the procedures to
install the tape cassettes.
Authorised tape
The types of tape that may be used with the
printer are listed below.
■ TZ Tapes
Standard Laminated Tape
Standard Non-Laminated Tape
Strong Adhesive Tape - Laminated
Flexible ID tape - Laminated
Fabric Iron-On Tape - Non-Laminated
Security Tape - Laminated
Stencil Tape - Non-Laminated
■ HG Tapes
HG tapes enable three available
combinations of higher printing speed and
print resolutions. For details on high-speed
printing, refer to "Printing at a higher speed
or at a higher resolution" (→ P. 25).
Installing the tape cassette
This section explains the procedure to install
the tape cassette.
Hold down the power button on the
1
front of the printer until the Power
lamp is off.
Press the cover release button and
2
open the tape compartment cover.
Cover release button
Install the tape cassette.
3
Make sure that the end of the tape feeds
under the tape guide.
Toothed wheel
Tape guide
End of the
tape
• If the ink ribbon is loose, use your
finger to wind the toothed wheel in the
direction of the arrow on the cassette.
Close the tape compartment cover
4
and press the power button on the
front of printer.
Press the Feed/Cut button to remove
5
the tape slack.
Note
You can only remove the tape cassette
●
when the roller assembly of the printer
has been released. It will be released
automatically if you press the power
button on the front of the printer or if no
additional operation is performed within
10 minutes after printing a label.
15
