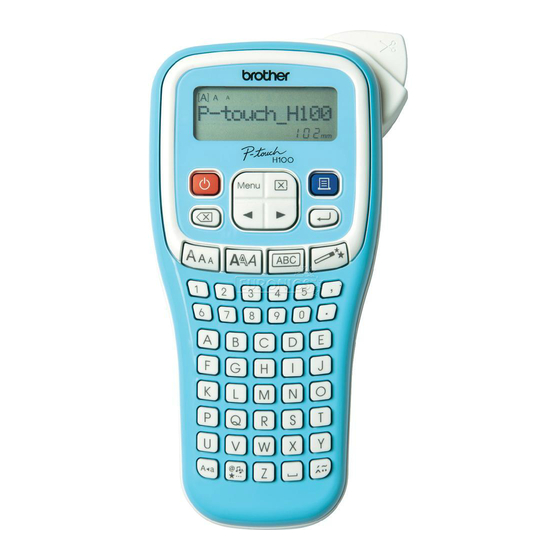
Brother P-Touch PT-H100 운영자 매뉴얼 - 페이지 6
{카테고리_이름} Brother P-Touch PT-H100에 대한 운영자 매뉴얼을 온라인으로 검색하거나 PDF를 다운로드하세요. Brother P-Touch PT-H100 6 페이지. Electronic labeling system
Brother P-Touch PT-H100에 대해서도 마찬가지입니다: 특징 (2 페이지), 사용자 설명서 (1 페이지)

GETTING STARTED - Turning Power On/Off
1. Press the
(Power) to turn the P-touch printer ON/OFF.
GETTING STARTED – Installing a Label Cartridge
1. If the new label cartridge has a
cardboard stopper, be sure to remove
the stopper before inserting the
cassette.
2. Check that the end of the tape is not
bent and it passes through the tape
guide at least ½ inch, also make sure
that the ink ribbon is wound tight.
(see photo).
3. After making sure that the power is off,
place the P-touch printer on a flat surface and open the rear cover. If there is
already a tape cassette in the P-touch, remove it by pulling it straight up.
4. Insert the label cartridge into the compartment with the end of the tape
protruding out of the P-touch printer tape
exit slot and press firmly until you hear it
click.
When inserting the label cartridge, make
sure that the tape and ribbon do not
catch on the print head. If there is slack in the tape, pull the tape
through the tape guide.
5. Close the rear cover.
6. DO NOT PULL THE LABEL WHILE IT IS COMING OUT OF THE
PRINTER. DOING SO WILL CAUSE THE INK RIBBON TO PULL OUT OF
THE EXIT SLOT AND TO BE CUT WHEN THE LABEL IS CUT. THIS
WILL CAUSE THE LABEL CARTRIDGE TO NO LONGER FUNCTION.
Page - 3
GETTING STARTED - Feeding Tape
1. Press the Menu Key.
2. Use the ◄► key until Feed appears on the screen.
3. Press the key
GETTING STARTED – Resetting the P-touch
1. Turn off the P-touch labeler.
2. Simultaneously hold down the Menu key and the R key and while
holding the keys, turn the P-touch back on.
3. Release the Menu key and the R key. The P-touch will turn on with
the internal memory reset.
Note: All text, settings and stored files are cleared.
Page - 4
