Brother P-touch QL-710W 빠른 설정 매뉴얼 - 페이지 28
{카테고리_이름} Brother P-touch QL-710W에 대한 빠른 설정 매뉴얼을 온라인으로 검색하거나 PDF를 다운로드하세요. Brother P-touch QL-710W 38 페이지. Label printer
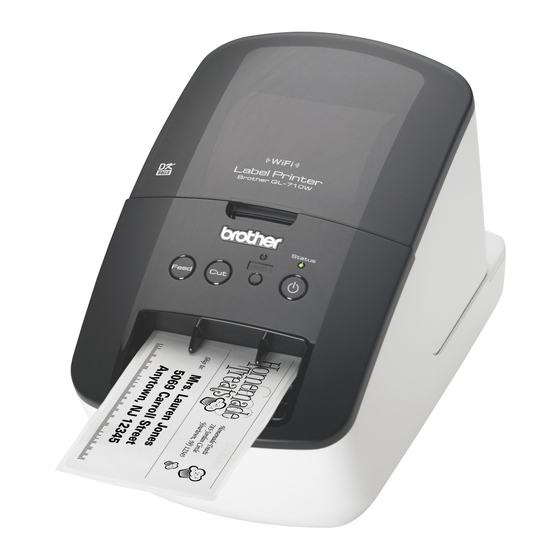
Brother P-touch QL-710W에 대해서도 마찬가지입니다: 네트워크 사용 설명서 (48 페이지), 소프트웨어 사용 설명서 (48 페이지), 사용자 설명서 (23 페이지), 사용자 설명서 (23 페이지)
26
12-1
The wizard will search for
wireless networks available
from your printer. Choose
the SSID that you noted in
MEMO
click [Next].
• If the list is blank, check that
the access point is turned on
and is broadcasting the SSID,
and then see if the printer and
the access point are within
range for wireless
communication.
Then, click [Refresh].
• If your access point is set to not
broadcast the SSID, you can
enter the SSID manually by
clicking the [Advanced]
button. Follow the on-screen
instructions for entering the
Name (SSID), and then click
[Next].
13-1
Enter the Network Key you
noted in MEMO
and then click [Next].
If your network is not configured
for authentication and encryption,
the ATTENTION! screen will
appear. To continue
configuration, click [OK] and go
14-1
to
page 21 and then
page 21
.
14-1
Confirm the wireless network
settings and then click [Next].
The settings will be sent to
your printer.
• The settings will remain
unchanged if you click
[Cancel].
• If you want to manually assign
an IP address to the printer,
click [Change IP Address]
and enter an IP address that is
compatible with your network.
• If the wireless setup failure
screen appears, click [Retry].
15-1
Disconnect the USB cable
connecting the computer and
the printer and then click [Next].
Wireless setup is now
complete. Go on to 16 to
install the printer driver and the
software.
For Method 2 users
9-2
Confirm that your WLAN
access point/router has the
WPS symbol.
10-2
Place your printer within range
of your WPS access point/
router. The range may differ
depending on your
environment. Refer to the
instructions provided with your
access point/router.