Brother QL-1110NWB 빠른 설정 매뉴얼 - 페이지 6
{카테고리_이름} Brother QL-1110NWB에 대한 빠른 설정 매뉴얼을 온라인으로 검색하거나 PDF를 다운로드하세요. Brother QL-1110NWB 9 페이지.
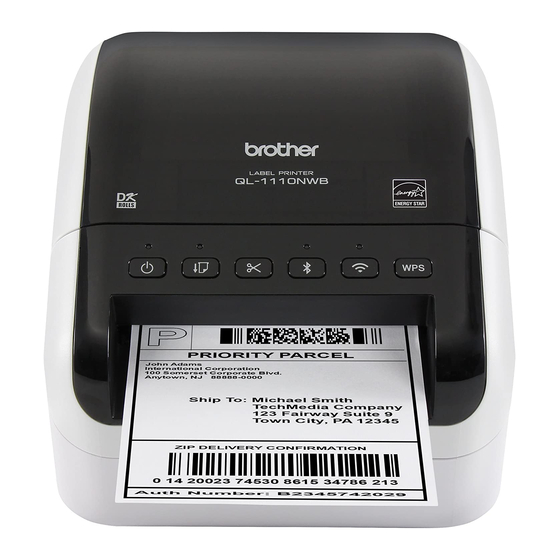
Brother QL-1110NWB에 대해서도 마찬가지입니다: 빠른 설정 매뉴얼 (9 페이지), 매뉴얼 (2 페이지)
7. Use the Label Printer with a Computer
Install Printer Drivers and Software on a Computer
®
To print from your Windows
Software for Windows
Printer Driver, P-touch Editor, P-touch Address Book, P-touch Update Software, Printer Setting Tool, BRAdmin Light, and
BRAdmin Professional
Software for Mac
P-touch Editor, P-touch Update Software, and Printer Setting Tool
1.
Visit our website (install.brother) and download the Software/Documentation Installer for the latest drivers, software, and manuals.
2.
Double-click the downloaded EXE file (for Windows
3.
Close the dialog box when the installation is complete.
Connect the Label Printer to a Computer
You can connect the Label Printer to a Windows computer or Mac wirelessly, using a USB Cable, or using a wired LAN connection.
Connect Wirelessly
1.
Turn the Label Printer On.
2.
Press and hold the Wi-Fi (
starts flashing green at three second intervals.
NOTE
To connect the Label Printer to a computer using a wireless connection, we recommend the following:
• Configure the wireless network settings while installing the software. You can change the settings later using the
Printer Setting Tool. For more information, see the User's Guide.
• Install the software on a computer wirelessly connected to your network and configure the Label Printer using a USB
Cable.
• Make a note of the SSID (network name) and password (network key) of the wireless network in advance. If you
cannot find this information, ask your network administrator or wireless access point/router manufacturer.
• If your wireless access point/router supports WPS (
configure the wireless network settings.
• For more information, see the User's Guide.
Connect Using a USB Cable
1.
Turn the Label Printer Off.
2.
Connect the USB Cable to the USB Port on the back of the Label Printer.
3.
Connect the USB Cable to your computer's USB port.
4.
Turn the Label Printer On.
Connect Using a Wired LAN
NOTE
If you are using a static IP address to connect your Label Printer to a wired LAN connection, install the Printer Drivers
and Printer Setting Tool before specifying your wired LAN connection settings.
1.
Turn the Label Printer Off.
2.
Connect the LAN cable to the LAN Port on the back of the Label Printer.
3.
Connect the LAN cable to an active LAN Port on the network.
4.
Turn the Label Printer On.
Connect Using Bluetooth
1.
Turn the Label Printer On.
2.
Press and hold the Bluetooth ( ) Button on your Label Printer for one second to turn the Bluetooth function On.
3.
Use your Bluetooth management software to discover the Label Printer. The Bluetooth LED lights blue.
computer or Mac, install the Printer Drivers, P-touch Editor, and other label-printing applications on your computer.
®
®
) or DMG file (for Mac), and follow the on-screen instructions to proceed with the installation.
) Button on your Label Printer for one second to turn the Wi-Fi function On. The Wi-Fi LED
), you can use WPS (Wi-Fi Protected Setup) to quickly