Brother QL-720NW 소프트웨어 사용 설명서 - 페이지 31
{카테고리_이름} Brother QL-720NW에 대한 소프트웨어 사용 설명서을 온라인으로 검색하거나 PDF를 다운로드하세요. Brother QL-720NW 48 페이지. Label printer
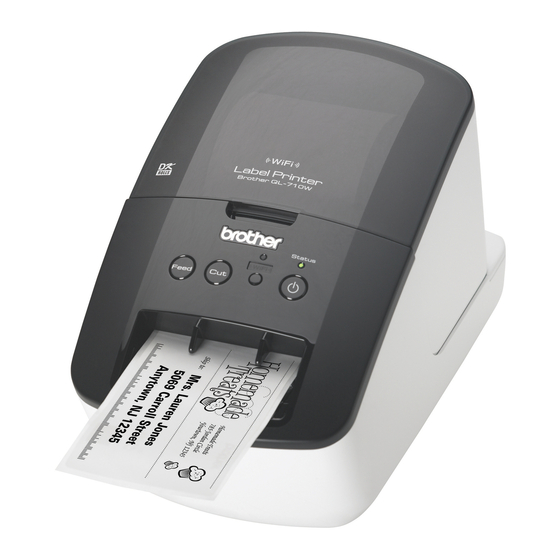
Brother QL-720NW에 대해서도 마찬가지입니다: 네트워크 사용 설명서 (48 페이지), 사용자 설명서 (23 페이지), 사용자 설명서 (23 페이지), 빠른 설정 매뉴얼 (38 페이지)
3
3
Label View
Display
Function
This label view is displayed when the software is started. The width of tape currently
set is displayed on the left of label image. When "Auto" is shown on the right, the
length of tape is automatically adjusted to the length of text.
You can drag the label border to manually change the length and width of the label.
Move the pointer to the label area's border. When the blue line appears, drag to the
desired length or width.
You can adjust the size of the P-touch Editor Lite window. Simply move the pointer
over an edge of the P-touch Editor Lite window and drag to adjust the size once the
pointer changes to an arrow.
Guidelines are sometimes displayed when moving objects. They are shown when
the object is aligned at the left, right, top, or bottom edge of Printable area, or in the
center. In the illustration to the left, the guidelines indicate that the object is centered
at the top edge of the tape.
Inserted text boxes, images, and frames are treated as objects. Objects are
surrounded by handles (indicated by eight blue points).
Indicates that an object is selected.
The pointer changes to an arrow when moved over a handle. You can change the
size of the object by dragging.
You can move objects by dragging when the pointer is a crosshair. For text objects,
the pointer only changes to a crosshair over the border of the object.
30