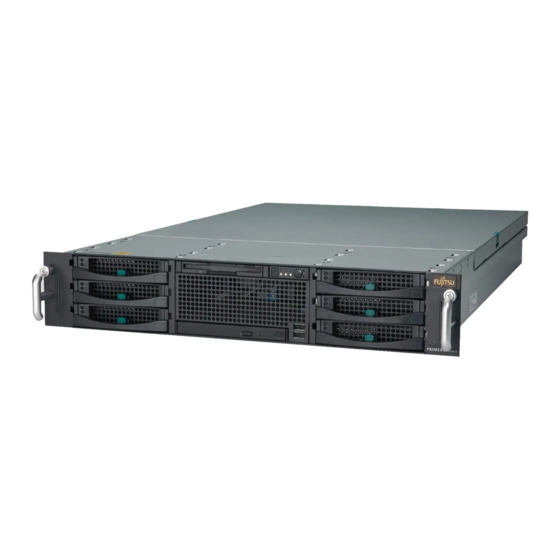
Fujitsu Primergy RX300 S3 수동 시작 - 페이지 4
{카테고리_이름} Fujitsu Primergy RX300 S3에 대한 수동 시작을 온라인으로 검색하거나 PDF를 다운로드하세요. Fujitsu Primergy RX300 S3 8 페이지. Dual- or quad-core intel xeon server
Fujitsu Primergy RX300 S3에 대해서도 마찬가지입니다: 사양 (2 페이지)

6
Turning on the power and setting hardware
Normally, hardware settings are not required to be changed from the default.
However, in the following cases, start each utility and check/change hardware settings.
"Chapter 8 Configuring Hardware and Utilities"
l BIOS Setup Utility
Change the settings in the following cases:
- When changing the Boot Drive
- When installing/removing optional devices
- When running remote installation
1
Power on the peripheral devices, such
as the display.
2
Turn on the power and insert the
ServerStart Disc1 CD-ROM immedi-
ately.
1. Press the power switch on the front of the
server.
2. Press the CD-ROM eject button, and insert
ServerStart Disc1 CD-ROM.
For the use of Linux distribution with this server, refer to Fujitsu PRIMERGY website
(http://primergy.fujitsu.com).
7
Installing the OS
This section explains the procedures to install the OS using ServerStart.
For details about OS installation procedures when not using ServerStart, refer to the "User's Guide".
"Chapter 4 Manual OS Installation"
1
Insert the ServerStart floppy disk
supplied with this server, and click
[Create].
A network setup window for remote installation
appears.
2
Click [OK].
3
Click [Build a ServerStart Floppy Disk].
The completion message appears.
4
Click [OK].
[
Please Select your keyboard] window appears.
Print out the "Configuration Sheets" in the Document & Tool
CD, and fill in a hardware configuration and setting values of
the BIOS Setup Utility in advance.
3
Set the hardware.
If no hardware settings are performed, skip to the
next step when a message to insert the ServerStart
floppy disk is displayed.
1. When the "<F2> BIOS Setup / <F12>
Boot Menu" message appears at the server
start up (during POST), press the [F2] key.
2. Check/change the settings.
3. Select "Save Changes & Exit" from the
Exit menu and press the [Enter] key.
5
Select your keyboard language from
the drop-down list and click [OK] .
The subsequent start procedure may take several
minutes. The [Welcome to ServerStart] window ap-
pears.
6
Click [Click here to prepare and/or initi-
ate an operating system installation].
The [Select the operating system to be installed]
window appears.
Click [Special Hints on Operating System Installa-
tion] and read the contents.
7
Click [MS Windows Operating Sys-
tems].
8
Click the OS to be installed.
4
