Fujitsu fi 5750C - Document Scanner 시작하기 매뉴얼 - 페이지 25

{카테고리_이름} Fujitsu fi 5750C - Document Scanner에 대한 시작하기 매뉴얼을 온라인으로 검색하거나 PDF를 다운로드하세요. Fujitsu fi 5750C - Document Scanner 42 페이지. Image scanner
Fujitsu fi 5750C - Document Scanner에 대해서도 마찬가지입니다: 시작하기 (40 페이지), 설치 절차 매뉴얼 (7 페이지), 설치 절차 매뉴얼 (9 페이지), 설치 절차 (3 페이지), 사양 (2 페이지), 브로셔 및 사양 (2 페이지), 사용 설명서 (11 페이지), 소모품 교체 및 청소 지침 (19 페이지), 청소 지침 (2 페이지), 청소 및 유지 관리 (39 페이지), 청소 지침 (2 페이지)
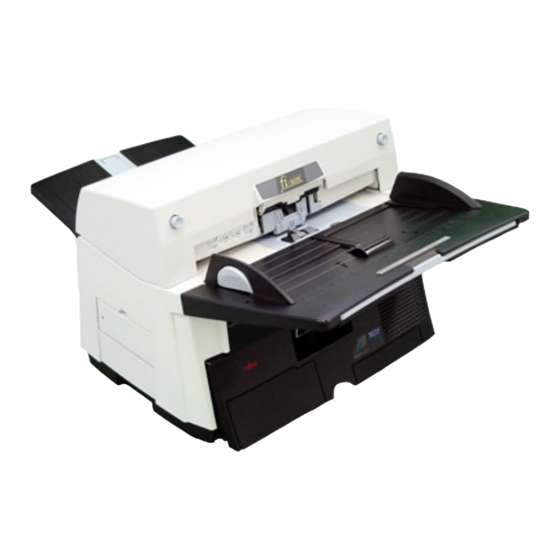
Fujitsu fi 5750C - Document Scanner 시작하기 매뉴얼
This screen may not be displayed when
the, "Autoplay" setting of your PC is
ATTENTION
turned off. In this case, please run
"Install.exe" on the CD-ROM directly
from explorer or "My Computer".
4.
Click [Install Products].
5.
Click [ISIS Driver].
6.
The Error Recovery Guide Installation
window appears.
Error Recovery Guide is a software
providing you with troubleshooting
information displayed on the screen when
a scanner error occurs. Not installing this
software will not have an effect on the
performance of the scanner. However it is
recommended to install this software.
When you select [Yes] for installing Error
Recovery Guide, [Choose Setup
ATTENTION
Language] window appears. Select a
language and follow the instructions on
the window. Error Recovery Guide will
automatically start on finishing its
installation. Please wait until the
installation of ISIS driver automatically
starts.
7.
Select an appropriate language used for
the installation from the <Choose Setup
Language> window and click [OK].
8.
Install the application following the
instructions on the window.
9.
When the [InstallShield Wizard Com-
pleted] appears, click on [Finish].
10.
The system is restarted and the scan-
ner will be detected.
Do not remove the Setup CD-ROM until
the PC is restarted completely.
Depending on the OS, the following
operations may be necessary.
ATTENTION
For Windows 98:
When a request for inserting the CD-
ROM of Windows 98 appears, insert
it into the CD drive and click the [OK]
button.
For Windows 2000:
When [Digital Signature not Found]
appears, click [Yes].
For Windows XP:
1. When [Found New Hardware Wiz-
ard] appears, confirm that the Setup
CD-ROM is set in the CD drive, then
click the [Next] button.
2. When any alarm is displayed on
[Hardware Installation] window, click
the [Continue Anyway] button.
3. Click the [Finish] button.
Now the installation of the scanner driver is
completed.
2-9