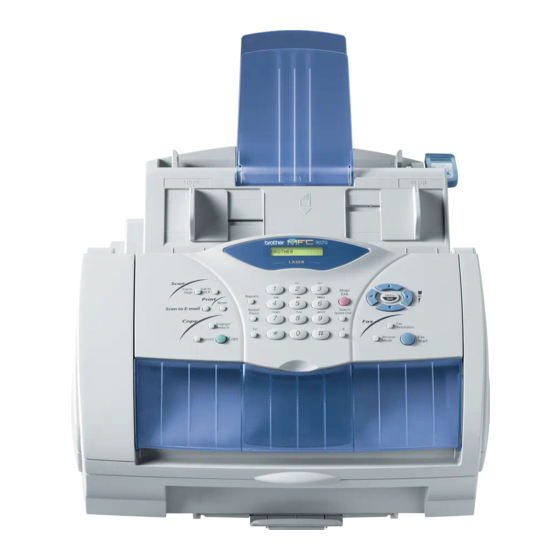
Brother MFC-580 설정 매뉴얼 - 페이지 2
{카테고리_이름} Brother MFC-580에 대한 설정 매뉴얼을 온라인으로 검색하거나 PDF를 다운로드하세요. Brother MFC-580 5 페이지. Facsimile equipment
Brother MFC-580에 대해서도 마찬가지입니다: 빠른 설정 매뉴얼 (6 페이지), 부품 참조 목록 (21 페이지)

8.
Click Install and PaperPort
®
will start installing on your computer.
11.
Select an interface cable, and then
press Next to start Driver installation.
Step 5.
Connect the machine to your PC
using the parallel or USB cable.
Step 6.
Turn on the machine by plugging in the power cord (and if necessary switch on the
machine power switch).
The installation of the Brother drivers will start automatically.
Step 7.
Follow the instructions on the screen.
Note: If you are installing a DCP model, installation is complete.
1.
When the above screen appears,
click Next to start the PC-FAX and
Remote Setup Installation Program.
5.
The installation process will now start.
For Parallel
For USB
2.
Select the folder where Setup will
install the program files. If you do not
wish to use the default directory, click
the Browse button to select a new
folder and then click Next to continue.
6.
If this screen appears, select the
model of the machine which you want
to use to send PC-Faxes and then
click OK.
9.
When the Registration screen is
displayed, make your selection and
follow the on screen instructions.
3.
Select the program folder in which
you wish to add the program icons,
and then click Next.
7.
Select "Yes" to restart your computer,
and then click Finish.
2
10.
Click Finish to complete ScanSoft
PaperPort
®
installation.
4.
If this screen appears, select the
components to install (the default
gives you the most functionality), and
then click Next.
™
