Fujitsu fi-65F 시작하기 - 페이지 4
{카테고리_이름} Fujitsu fi-65F에 대한 시작하기을 온라인으로 검색하거나 PDF를 다운로드하세요. Fujitsu fi-65F 7 페이지. Image scanner
Fujitsu fi-65F에 대해서도 마찬가지입니다: 시작하기 매뉴얼 (6 페이지)
2.
Insert the Setup DVD-ROM into the DVD
drive.
The [fi Series Setup] screen appears.
HINT
If the [fi Series Setup] screen does not
appear, double-click "Setup.exe" in the
Setup DVD-ROM via Windows Explorer or
[Computer].
3.
Click the scanner model name to be used
(if the window for selecting a model name
is displayed).
4.
Click the [Installation (Recommended)]
button.
5.
Follow the instructions on the screen to
proceed with the installation.
■ Installation (Custom)
1.
Perform steps
1.
(Recommended) (page
2.
Click the [Installation (Custom)] button.
3.
Select the check box for the software to
install and click the [Next] button.
4.
Follow the instructions on the screen to
proceed with the installation.
to
3.
in
"Installation
3)".
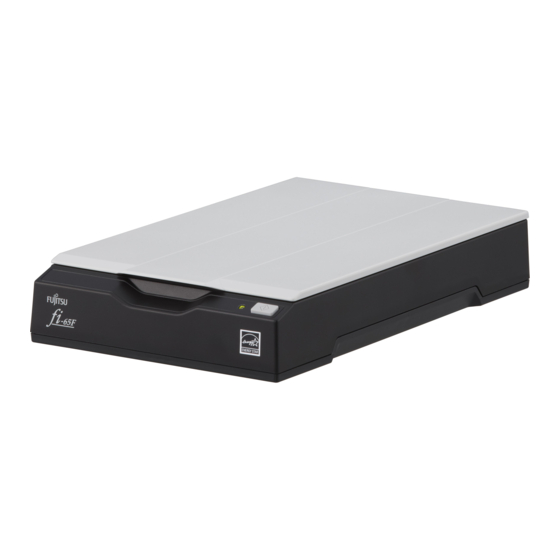
Installing the Scanner
Install the scanner in the following procedure.
1.
Place the scanner at its installation site.
ATTENTION
Carry the scanner by supporting it from the
bottom.
Outer dimensions
Installation space
145 (5.71)
145 (5.71)
2.
Unlock the transport lock switch.
There is a carrier unit inside the flatbed which
is fixed in place to prevent damage during
transportation.
Slide the transport lock switch on the back.
Locked
4
257
(10.12)
40 (1.57)
281
234
(11.06)
(9.21)
Unit: mm (in.)
Unlocked
Transport lock switch