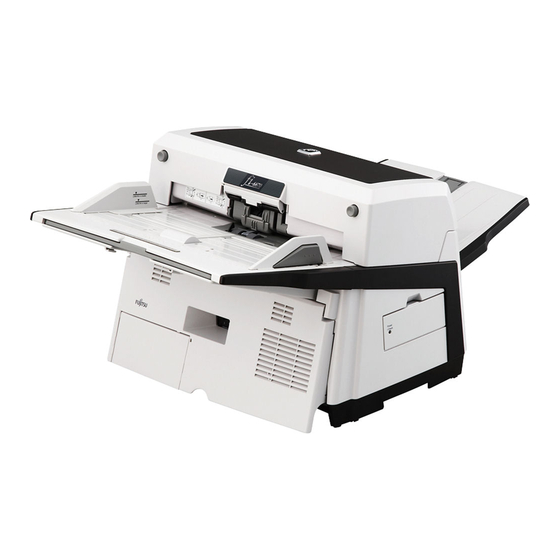
Fujitsu fi-6670 Series 시작하기 매뉴얼 - 페이지 22
{카테고리_이름} Fujitsu fi-6670 Series에 대한 시작하기 매뉴얼을 온라인으로 검색하거나 PDF를 다운로드하세요. Fujitsu fi-6670 Series 26 페이지. Image scanner
Fujitsu fi-6670 Series에 대해서도 마찬가지입니다: 사용자 설명서 (26 페이지), 설치 절차 매뉴얼 (6 페이지), 브로셔 (2 페이지), 사양 (2 페이지), 시작하기 매뉴얼 (14 페이지), 소모품 교체 및 청소 지침 (22 페이지)

5
Test-Scanning Documents
Using ScandAll PRO, you can test-scan documents to check if they are scanned with the ADF correctly.
For how to scan documents with the flatbed, refer to "Chapter 4 Various Documents" in the Operator's
Guide.
The following describes how to test-scan a document:
1
Turn on the scanner.
1) Press the "I" side of the main power switch of the scanner.
2) Press the [Power] button on the Operator Panel.
The scanner is turned ON, and the Power LED on the Operator Panel lights in green.
Note that while the scanner is being initialized, the indication of the Function Number Display
changes as; "8"
2
Turn on your computer.
3
The scanner is automatically detected, and
the [Found New Hardware] dialog box
appears.
Select [Locate and install driver software
(recommended)] to install the driver,
following the on-screen instructions.
"P"
"1", where "1" means that the Operator Panel is in the Ready Status.
If you see an error indication other than the above on the Function Number Display, refer to
"Chapter 7 Troubleshooting" in the Operator's Guide.
Ex. :If "U" is displayed on the Function Number Display, it means that the Transport Lock
remains locked. In such case, you need to unlock the Transport Lock.
For how to unlock the Transport Lock, refer to "Section 2 Installing the Scanner" (on page 13).
ADF type
Operator Panel
Function
Scan / Stop
Check
Send to
Function Number Display
For a SCSI connection, turn on the scanner and confirm that the Function Number Display
shows "1." Then, turn on your computer.
Flatbed type
Power
[Power] button
22
Operator Panel
Check
Function Number
Display
Function
Send to
Scan / Stop
Power
[Power] button
