Brother Business Smart MFC-J4510dw 빠른 설정 매뉴얼 - 페이지 32

{카테고리_이름} Brother Business Smart MFC-J4510dw에 대한 빠른 설정 매뉴얼을 온라인으로 검색하거나 PDF를 다운로드하세요. Brother Business Smart MFC-J4510dw 47 페이지. Quick setup guide - spanish
Brother Business Smart MFC-J4510dw에 대해서도 마찬가지입니다: 매뉴얼 (36 페이지), 매뉴얼 (22 페이지), 제품 안전 매뉴얼 (17 페이지), 매뉴얼 (13 페이지), 매뉴얼 (22 페이지), 매뉴얼 (18 페이지), 빠른 설정 매뉴얼 (47 페이지), 브로셔 및 사양 (4 페이지), 제품 안전 매뉴얼 (20 페이지), 사양 (2 페이지), 빠른 설정 매뉴얼 (47 페이지), 빠른 시작 매뉴얼 (29 페이지), 제품 안전 매뉴얼 (25 페이지), (스페인어) 웹 연결 매뉴얼 가이드 (38 페이지), (스페인어) 매뉴얼 (24 페이지), (영어) 제품 안전 가이드 매뉴얼 (16 페이지), (스페인어) 매뉴얼 (11 페이지), (영어) 빠른 구성 가이드 (47 페이지)
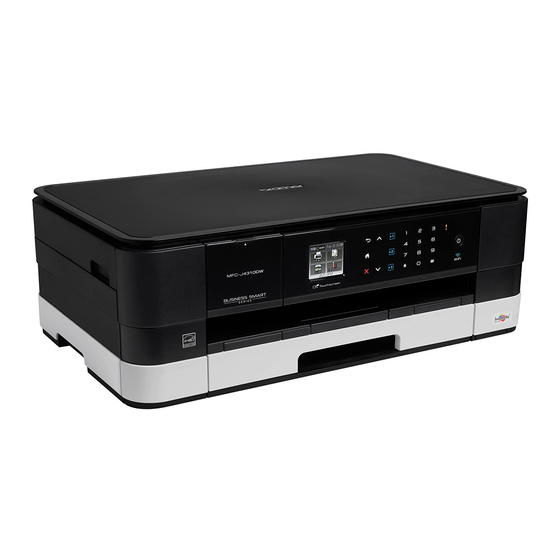
Brother Business Smart MFC-J4510dw 빠른 설정 매뉴얼
For Wireless Network Users
e
Choose Yes, I have a USB cable to use for
installation. and then click Next.
f
Temporarily connect the USB cable (not
included) directly to the computer and the
machine.
If the confirmation screen appears, check the
box and click Next, go to g.
Otherwise, go to h.
NOTE
• For instructions on connecting the USB cable
to the USB port of your machine, see Connect
the USB cable on page 15.
• If this screen appears, read the Important
Notice. Check the box after you confirm the
SSID and Network Key, and then click Next.
32
g
When the following screen appears, check Yes
if you want to connect to the listed SSID. Click
Next and go to j.
h
When the following screen appears, the wizard
will search for wireless networks available to
your machine. Choose the SSID that you wrote
down for your network in step 18-a on
page 29, and then click Next.
NOTE
• If a list of SSIDs is not displayed, make sure
your access point is on and set to broadcast the
SSID. Make sure the machine and the access
point are within communication range, then
click Refresh.
• If your access point is set to not broadcast the
SSID you can manually add it by clicking the
Advanced button. Follow the on-screen
instructions for entering the Name (SSID), and
then click Next.