Fujitsu S510 - ScanSnap - Document Scanner 설치 절차 - 페이지 2
{카테고리_이름} Fujitsu S510 - ScanSnap - Document Scanner에 대한 설치 절차을 온라인으로 검색하거나 PDF를 다운로드하세요. Fujitsu S510 - ScanSnap - Document Scanner 3 페이지. Color image scanner
Fujitsu S510 - ScanSnap - Document Scanner에 대해서도 마찬가지입니다: 사양 (2 페이지), 빠른 설치 매뉴얼 (2 페이지), 브로셔 및 사양 (2 페이지), 시작하기 매뉴얼 (30 페이지), 시작하기 매뉴얼 (28 페이지), 청소 지침 (2 페이지)
Option B: Installing the drivers from our Web Page.
If you no longer have your setup CD then please contact our
download the current drivers or to receive a replacement CD.
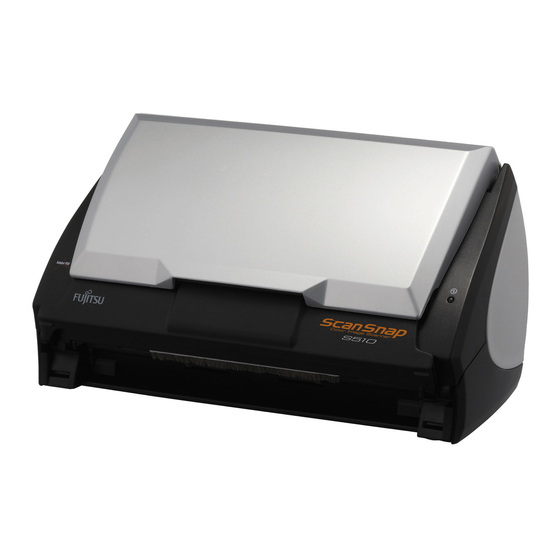
Step 2: Connecting the Scanner.
Connect the USB cable to the scanner and the USB port of your PC. Ensure that the cable is
securely fastened at both ends. Finally connect the power cord to the scanner and a wall outlet
then turn on the scanner. The New Hardware wizard will pop up. Select search for the driver
automatically and follow the prompts. Since the driver is already installed on the hard drive you
do not select search the Internet. When completed you will see the Scansnap icon in the
system tray (lower right of your screen).
Step 3: Scanning with Scansnap.
1. Right click on the Scansnap icon in the system tray, then left click on Scan
Button Settings.
2. After the Scansnap Manger Screen has opened, click on the Application tab and
using the down arrow select Adobe Acrobat.
Special note: If you do not see the Application tab then click on cancel, right click on
the Scansnap icon in the system tray again and left click on Use Quick Menu to
deselect it; then do steps 1 and 2 listed above again
.
3. Next click on the Save tab and verify that the Image saving folder location is where
you want the scanned images saved. If not use the Browse button to pick a different
location.
4. If you wish to name the files yourself instead of using the autoname function then
click in the white box next to Rename file after scan.
5. Next click on the Scanning tab. This is where you select the resolution, color,
and single or double-sided modes. If you click on the option button you will find
more advance settings like blank page removal, image deskew, rotation, and
ADF page orientation.
6. Clicking on the File tab allows you to select PDF or JPEG. PDF is the default when
Adobe Acrobat is selected.
7. The Paper size tab is where you can select Automatic page size detection (the
default), predefined page sizes, or custom page sizes (custom button).
8. Lastly, the Compression tab allows for image compression under certain modes.
9. To save your selections click o.k. or Save Current Settings
10. Place your documents in the ADF and press the Scan button on the scanner. The
documents will be feed through the scanner and Adobe Acrobat application will
automatically launch and display the scanned images.
11. If you selected the Rename file after scan then the Save As box will appear, enter a
file name and click save. Afterwards click on the Scanned results box when it
appears.
12. To test the other scanning applications repeat steps 1 –12, and select the application
you wish to use under the Application tab.
Rev 120408
Fujitsu ScanSnap Installation Procedures
Windows 98SE\ME\2000\XP\Vista
Technical Support Department
Page 2 of 3
to