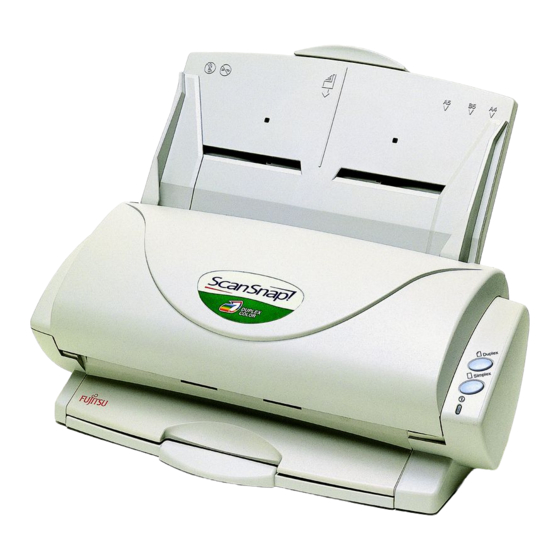
Fujitsu ScanSnap FI-4110EOX2 시작하기 매뉴얼 - 페이지 8
{카테고리_이름} Fujitsu ScanSnap FI-4110EOX2에 대한 시작하기 매뉴얼을 온라인으로 검색하거나 PDF를 다운로드하세요. Fujitsu ScanSnap FI-4110EOX2 18 페이지. Color image scanner
Fujitsu ScanSnap FI-4110EOX2에 대해서도 마찬가지입니다: 설치 절차 (2 페이지), 사양 (2 페이지)

2. Connecting ScanSnap!
This chapter describes how to connect ScanSnap! product
to your computer.
Before you connect ScanSnap! scanner, install the supplied
®
programs (Adobe
Acrobat
CardMinder) on your computer
2.1. Installing the Supplied Software
Before connecting the scanner to your computer, first
install the following software.
○
Adobe Acrobat 5.0
1
○
ScanSnap! Driver
2
○
CardMinder
3
ATTENTION
• Be sure to install "ScanSnap! Driver"
before connecting the scanner to your
computer.
If the scanner is connected before installing
ScanSnap! Driver, the "Found New Hardware
Wizard" appears (exact wording depending on
the OS). In this case, click the [Cancel] button
to close the wizard.
• If older versions have already been
installed on your computer, uninstall them
before installation.
When using Windows 2000 or Windows
•
XP, log on as an administrator.
2.1.1. Installing Adobe Acrobat 5.0
Please prepare Adobe Acrobat 5.0 CD-ROM.
1.
Insert the "Adobe Acrobat 5.0 CD-ROM" into the
CD-ROM drive.
"Adobe Acrobat 5.0 AutoPlay" appears.
This window is not displayed automatically
HINT
when "Auto play" setting of your computer is
off. In this case, please run "AutoPlay.exe" in
this CD-ROM directly using "Explore" or "My
computer".
2.
In the following window, click the [Next] button.
6 |
®
, ScanSnap! Driver and
(Application)
(Driver)
(Application)
3.
Select [Acrobat 5.0] button and then click the [Install
Adobe Acrobat 5.0] button.
The installation starts, and the setup window appears.
4.
Follow the instructions in the setup window.
Click the [Before you install] button on the
HINT
[Adobe Acrobat 5.0 AutoPlay] window to
learn more about the Adobe Acrobat 5.0
installation.
Refer to "Adobe Acrobat Help" about how to
use Adobe Acrobat 5.0.
2.1.2. Installing ScanSnap! Driver and
CardMinder
Please prepare ScanSnap! Setup CD-ROM.
1.
Insert the "ScanSnap! Setup CD-ROM" into the
CD-ROM drive.
"ScanSnap! Setup" appears.
This window is not displayed automatically
HINT
when the "Autoplay" setting of your computer
is off. In this case, run "Setup.exe" in this
CD-ROM directly using "Explore" or "My
computer".
2.
Click [Install Products] button.
The installation of Scansnap! Driver and CardMinder
starts up, and the wizard window appears.
