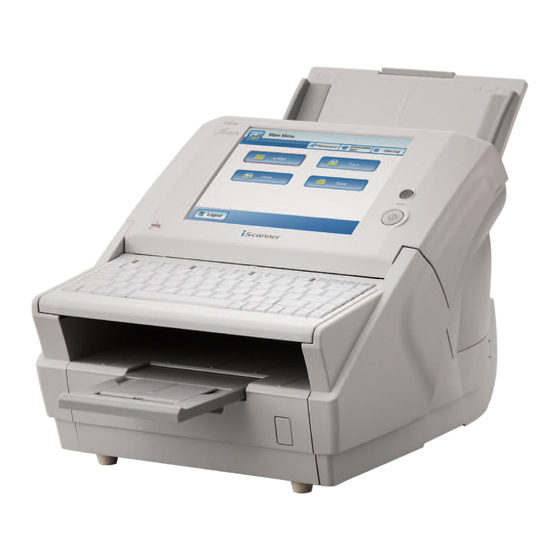
Fujitsu ScanSnap iScanner fi-6010N 시작하기 매뉴얼 - 페이지 11
{카테고리_이름} Fujitsu ScanSnap iScanner fi-6010N에 대한 시작하기 매뉴얼을 온라인으로 검색하거나 PDF를 다운로드하세요. Fujitsu ScanSnap iScanner fi-6010N 21 페이지. Network adf scanner
Fujitsu ScanSnap iScanner fi-6010N에 대해서도 마찬가지입니다: 사양 (2 페이지), 시작하기 매뉴얼 (21 페이지), 브로셔 및 사양 (2 페이지), 시작하기 매뉴얼 (45 페이지), 청소 지침 (2 페이지), 청소 지침 (2 페이지)

Installing the Admin Tool
Chapter 4
As well as operating via the touch panel, the administra-
tor can configure scanner settings via the network inter-
face. In order to do this, the Admin Tool, or Central
Admin Console, must first be installed on a personal
computer connected to the network.
The Admin Tool can set one scanner at a time. The Cen-
tral Admin Console can set multiple scanners at a time.
For more details about the Central Admin Console, refer
to the "Operator's Guide".
This chapter provides a description of the Admin Tool.
The information and procedure for installing the Admin
Tool are as follows.
z Operating system
Software
z Windows® XP SP2 or later
z Windows Vista®
z Windows Server® 2003 SP2 or
later
z Windows Server® 2008
z .NET Framework 2.0 SP1 or later, or
.NET Framework 3.0 SP1 or later (*1)
z Microsoft® Internet Explorer 6 SP2 or
later (*2)
z 32 MB or more of free memory space
Hardware
z 64 MB or more of free disk space
z Any personal computer which runs the
supported software
z XGA monitor or better
z LAN cable
z Pointing device (e.g. mouse)
*1: When installing the Admin Tool, confirm that .NET
Framework is installed. If not already installed, a message
will appear telling you to install .NET Framework from
the Microsoft Web site. When installing .NET Frame-
work, at least 280MB of additional free disk space is
required.
*2: Confirm that the latest security patch has been applied. If
the latest patch has not been applied, downloading opera-
tions (such as manual download) may not be possible. For
Windows® XP, "KB933566" must be applied to
Microsoft® Internet Explorer.
1. Specify the scanner name as a URL in the web
browser's location bar.
According to the settings from "3.6 Setting the
Admin Network" (page 8), the specified URL is
as follows:
z SSL is [Off], no port number change
http://scanner_name or IP_address/
z SSL is [Off], port number change
http://scanner_name or IP_address:port_number/
For port_number, number enter the changed port
number
z SSL is [On], no port number change
https://scanner_name or IP_address/
z SSL is [On], port number change
https://scanner_name or IP_address:port_number/
For port_number, enter the changed port number
For SSL, the "Security Alert" window is dis-
played when connecting. Press the [Yes] button
on the "Security Alert" window.
D The "Login" screen appears.
2. Enter a "User Name" and "Password", and
press the "Login" button.
D The "Download" screen appears.
3. Press the [Next] button for the fi Network Scan-
ner Admin Tool download.
D The fi Network Scanner Admin Tool down-
load screen appears.
4.
Press the [Download] button.
11
z Downloading is not possible while
ATTENTION
an administrator or user operation
is being processed.
z Do not close the Web browser or
logout until installation is complete.
D The "File Download - Security Warning"
screen appears.
5. Press the [Run] button.
D The fi Network Scanner Admin Tool Setup
Wizard appears.
If .NET Framework is not installed,
download and install ".NET Framework
HINT
Redistributable Package" from the
Microsoft Website. After installing the
package, try again from Step 1.
6. Press the [Next] button.
D The "Select Installation Folder" window
appears.
7. Specify an installation folder for the Admin
Tool.
To select a different folder, press the [Browse]
button.
To check the free space available for the currently
selected folder, press the [Disk Cost] button.
Installation will fail if the length of
ATTENTION
any installation path (folder path plus
installation file name) exceeds 259
characters. Select an installation
folder that respects this limit.
8. Select the target user(s), and press the [Next]
button.
D Follow the prompts of the install wizard win-
dows until a "fi Network Scanner Admin
Tool has been successfully installed" message
indicates that the installation has completed.
Press the [Close] button.
D When the installation is completed, logout of
the scanner, and close the Web browser.
D The Admin Tool should now be usable.
Click the [Start] button, select the
[All Programs] - [fi-scanner V2.1] sub-menu,
and then click on the [fi Network Scanner
Admin Tool].
For more details about configuring settings with, or
uninstalling the Admin Tool, refer to the "Operator's
Guide".
Next, download the "Operator's Guide".
12
