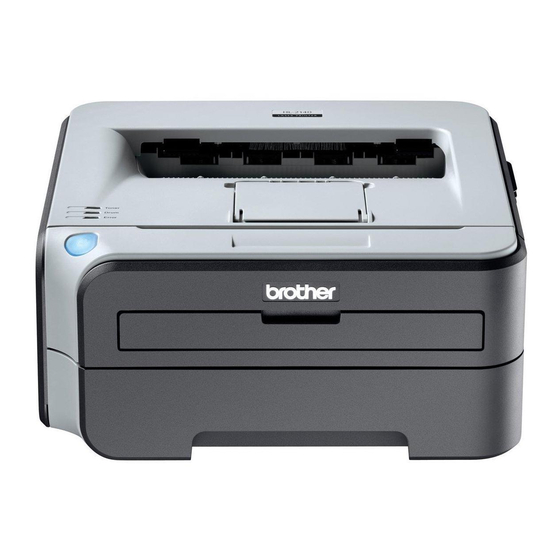
Brother HL-2150N 빠른 설정 매뉴얼 - 페이지 16
{카테고리_이름} Brother HL-2150N에 대한 빠른 설정 매뉴얼을 온라인으로 검색하거나 PDF를 다운로드하세요. Brother HL-2150N 23 페이지. Laser printer
Brother HL-2150N에 대해서도 마찬가지입니다: 빠른 설정 매뉴얼 (30 페이지), 서비스 매뉴얼 (8 페이지)

STEP 2
Installing the Printer Driver
For network interface cable users (HL-2150N only)
2
For Peer-to-Peer network printer users
Windows
R
TCP/IP
1 Router
2 Network printer
Note
• If you are going to connect the printer to your
network, we recommend that you contact your
system administrator prior to installation or see the
Network User's Guide on the CD-ROM.
• If you are using Personal Firewall software (e.g.
Windows Firewall), disable it. Once you are sure
that you can print, restart your Personal Firewall
software.
Connecting the printer to your network and
installing the driver
1
Connect the network interface cable to the
printer, and then connect it to a free port on
your hub.
2
Make sure the printer power switch is on.
3
Turn on your computer. (You must be logged
on with Administrator rights.)
16
Macintosh
R
1
TCP/IP
4
Put the supplied CD-ROM into your CD-ROM
drive. The opening screen will appear
automatically.
Choose your printer model and the language.
2
Note
If the opening screen does not appear, use
Windows
from the root folder of the Brother CD-ROM.
5
Click Install Printer Driver on the menu
screen.
6
Click Network cable users.
Note
For Windows Vista
Control screen appears, click Continue.
7
When the License Agreement window
appears, click Yes if you agree to the License
Agreement.
8
Choose Brother Peer-to-Peer Network
Printer, and then click Next.
Windows
®
Explorer to run the start.exe program
®
, when the User Account
®
