Brother HL-4040CN 기술 지침 - 페이지 2

{카테고리_이름} Brother HL-4040CN에 대한 기술 지침을 온라인으로 검색하거나 PDF를 다운로드하세요. Brother HL-4040CN 6 페이지. Brother printer - laser printer user manual
Brother HL-4040CN에 대해서도 마찬가지입니다: 브로셔 (4 페이지), 빠른 설정 매뉴얼 (35 페이지), 브로셔 및 사양 (2 페이지), 부품 참조 목록 (40 페이지), 서비스 업데이트 매뉴얼 (11 페이지), 청소 및 관리 (7 페이지), 서비스 매뉴얼 (13 페이지), (덴마크어) 사용자 설명서 (35 페이지)
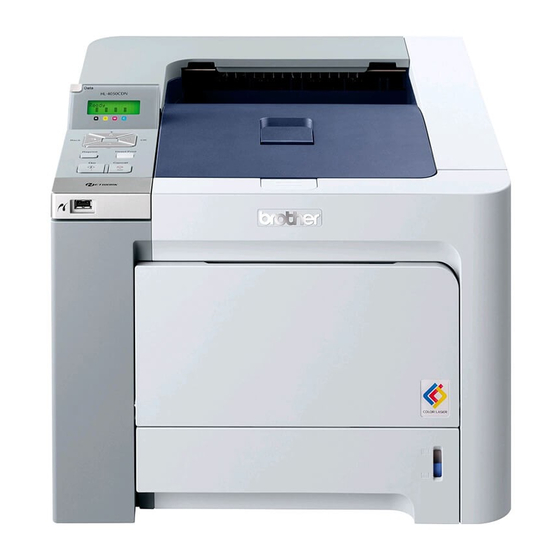
Brother HL-4040CN 기술 지침
2
Step 3
Holding the toner hopper so the top
is facing you, use a flat blade screw-
driver to release the gear end cap
tab that holds the end cap to the
side of the hopper (See photo 4).
Remove gear end cap (See photo 5).
PHOTO 4
PHOTO 5
© 2008 Future Graphics Imaging Corporation. All
rights
reserved.
Future
Graphics
Corporation (FGIC) is a distributor of compatible
replacement parts and products for imaging equip-
ment. None of FGIC's products are genuine OEM
replacement parts and no affiliation or sponsorship
is to be implied between FGIC and any OEM.
PHOTO 6
PHOTO 7
PHOTO 8
PHOTO 9
PHOTO 10
Imaging
Brother HL-4040CN Technical Instructions
Step 4
Remove the reset spring, gears and the
developer roller support hub from the side
of the toner hopper (See photo 6).
Step 5
Using a flat blade screwdriver, remove the
"E" clip from the developer roller drive gear
shaft (See photo 7).
Step 6
Remove the drive gear from the end of the
developer roller gear shaft (See photo 8).
Step 7
Insert a small flat blade screwdriver
between the side wall of the toner hopper
and the white bearing tab. Rotate the white
bearing tab upward to unlock the developer
roller from the toner hopper (See photo 9).
Step 8
Rotate the cartridge 180°. Using a small flat
blade screwdriver, pry off the white plastic
alignment hub from the non-gear side of the
developer roller (See photo 10).
NOTE: Do not lose the tension spring that
sits behind the white plastic alignment
hub.