Brother Inkjet MFC-J4710DW 매뉴얼 - 페이지 11

{카테고리_이름} Brother Inkjet MFC-J4710DW에 대한 매뉴얼을 온라인으로 검색하거나 PDF를 다운로드하세요. Brother Inkjet MFC-J4710DW 36 페이지. Quick setup guide - spanish
Brother Inkjet MFC-J4710DW에 대해서도 마찬가지입니다: 매뉴얼 (22 페이지), 제품 안전 매뉴얼 (17 페이지), 매뉴얼 (13 페이지), 매뉴얼 (13 페이지), 빠른 설정 매뉴얼 (47 페이지), 제품 안전 매뉴얼 (20 페이지), 사양 (2 페이지), 빠른 설정 매뉴얼 (47 페이지), (스페인어) 웹 연결 매뉴얼 가이드 (38 페이지), (스페인어) 매뉴얼 (24 페이지), (영어) 제품 안전 가이드 매뉴얼 (16 페이지), (스페인어) 매뉴얼 (12 페이지), (스페인어) 매뉴얼 (11 페이지), (영어) 빠른 구성 가이드 (47 페이지)
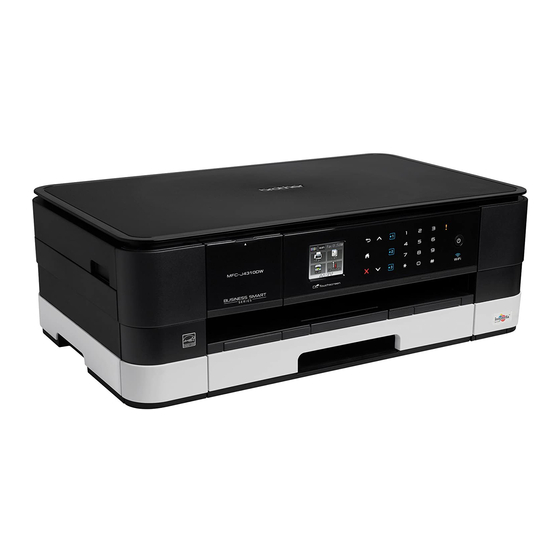
Brother Inkjet MFC-J4710DW 매뉴얼
Introduction

How to register and delete accounts on the machine

Enter the account information and configure the machine so that it can access the service:
Register an account
For MFC-J2510/J4510DW
a
Before you register an account, confirm that the correct time and date are set on the machine's control
panel. See the Quick Setup Guide included with your machine for instructions on setting the correct time
and date.
b
Swipe left or right, or press d or c to display the More screen.
c
Press Web.
Information regarding the Internet connection is displayed on the machine's LCD. Read the information
and press OK.
d
You will be asked if you want to display this information again in the future.
Press Yes or No.
e
Choose the desired service.
f
If information regarding Brother Web Connect is displayed, press OK.
g
Press Register/Delete Account.
h
Press Register Account.
i
A message is displayed prompting you to enter the temporary ID you received when you applied for
Brother Web Connect access.
Press OK.
j
Enter the temporary ID.
Press OK.
NOTE
An error message will appear on the LCD if the information you entered does not match the temporary ID
you received when you applied for access or if the temporary ID has expired. Either enter the temporary
ID correctly or apply for access again and receive a new temporary ID (see How to apply for Brother Web
Connect access on page 6).
k
A message is displayed, prompting you to enter a name for the account as you want it to be displayed
on the LCD.
Press OK.
l
Enter the name using the buttons on the LCD.
Press OK.
1
1
1
1
8