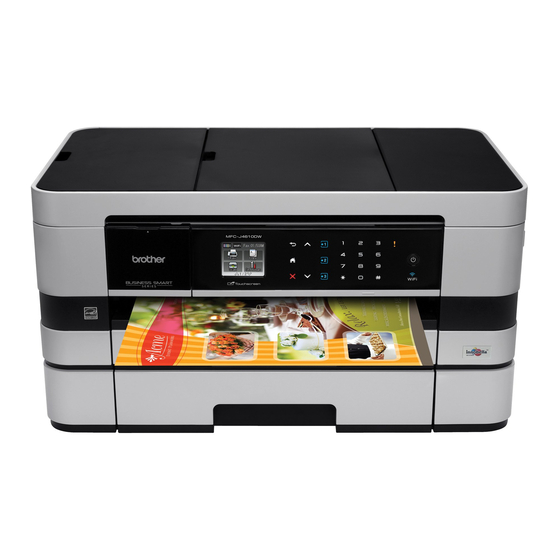
Brother MFC-J2510 빠른 설정 매뉴얼 - 페이지 15
{카테고리_이름} Brother MFC-J2510에 대한 빠른 설정 매뉴얼을 온라인으로 검색하거나 PDF를 다운로드하세요. Brother MFC-J2510 47 페이지. Wi-fi direct guide - english
Brother MFC-J2510에 대해서도 마찬가지입니다: 매뉴얼 (36 페이지), 매뉴얼 (22 페이지), 매뉴얼 (13 페이지), 매뉴얼 (18 페이지), 제품 안전 매뉴얼 (25 페이지)

USB
18
Connect the USB cable
a
Lift the scanner cover until it locks securely into
the open position.
b
Connect the USB cable to the USB port
marked with a
USB port inside the machine on the right as
shown below.
c
Carefully guide the USB cable into the cable
channel and out the back of the machine.
Connect the cable to your computer.
IMPORTANT
Make sure that the cable does not restrict the
cover from closing, or an error may occur.
symbol. You will find the
d
Lift the scanner cover to release the lock a.
Gently push the scanner cover support
down b and close the scanner cover c using
both hands.
2
e
The installation will continue automatically.
The installation screens appear one after
another.
IMPORTANT
DO NOT cancel any of the screens during the
installation. It may take a few seconds for all
screens to appear.
NOTE
®
For Windows Vista
and Windows
®
Windows
Security screen appears, click the
check box and click Install to complete the
installation correctly.
f
If Environmental Advice for Imaging
Equipment screen appears, click Next.
g
When the On-Line Registration screen is
displayed, follow the on-screen instructions.
Click Next.
h
If you do not want to set your machine as the
default printer, uncheck Set as Default Printer
and click Next.
®
Windows
1
3
®
7, when the
15
