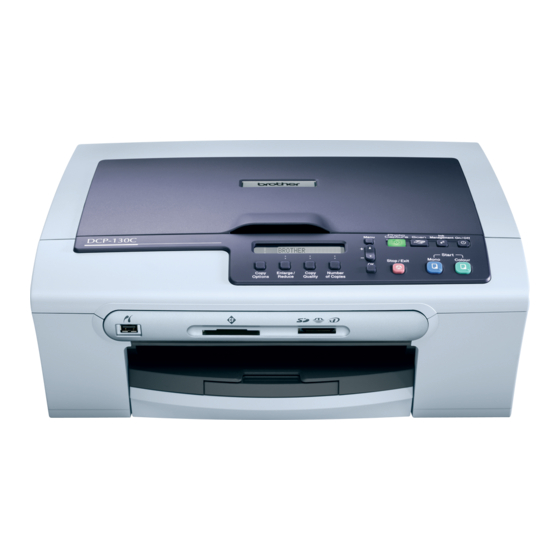
Brother DCP-130C 설정 매뉴얼 - 페이지 13
{카테고리_이름} Brother DCP-130C에 대한 설정 매뉴얼을 온라인으로 검색하거나 PDF를 다운로드하세요. Brother DCP-130C 23 페이지. Windows vista
Brother DCP-130C에 대해서도 마찬가지입니다: 사양 시트 (2 페이지), 빠른 설정 매뉴얼 (22 페이지), 빠른 설정 매뉴얼 (22 페이지), 빠른 설정 매뉴얼 (24 페이지), 사용자 설명서 (47 페이지), 빠른 설정 매뉴얼 (15 페이지)

Installing the Driver & Software
5
Lift the scanner cover to release the lock ( ).
Gently push the scanner cover support down
( ) and close the scanner cover ( ).
6
Turn on the machine by connecting the power
cord.
7
Turn on your computer.
You must be logged on with Administrator
rights.
Close any applications running before installing
the MFL-Pro Suite.
Note
Before installation, if you are using personal
firewall software, disable it. After the installation,
restart your personal firewall software.
8
Put the supplied CD-ROM into your CD-ROM
drive. If the model name screen appears,
choose your machine. If the language screen
appears, choose your language.
9
The CD-ROM main menu will appear. Click
Install MFL-Pro Suite.
If this window does not appear, use Windows
Explorer to run the start.exe program from the
root folder of the Brother CD-ROM.
Note
When the User Account Control screen appears,
click Allow.
10
After reading and accepting the ScanSoft™
PaperPort™ 11SE License Agreement, click
Yes.
11
The installation of ScanSoft™ PaperPort™
11SE will automatically start and is followed by
the installation of MFL-Pro Suite.
®
Windows
®
11
