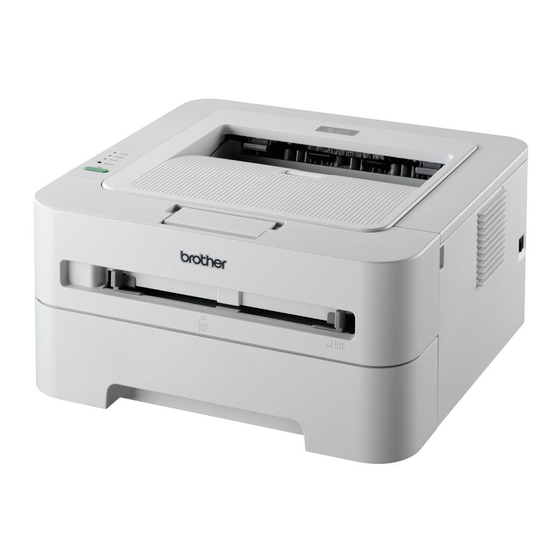
Brother HL-2275DW 빠른 설정 매뉴얼 - 페이지 20
{카테고리_이름} Brother HL-2275DW에 대한 빠른 설정 매뉴얼을 온라인으로 검색하거나 PDF를 다운로드하세요. Brother HL-2275DW 35 페이지. Personal laser printer
Brother HL-2275DW에 대해서도 마찬가지입니다: 사양 (2 페이지)

Wireless Network
n
If the confirmation screen appears, check the
box and click Next. When the following screen
appears, check Yes if you want to connect with
the listed SSID. Click Next and go to r.
o
The wizard will search for wireless networks
available from your machine. Choose the SSID
that your checked in advance on page 15), and
then click Next.
Note
• If the list is blank, check that the access point
has power and is broadcasting the SSID, and
then see if the machine and the access point
are within range for wireless communication.
Then, click Refresh.
• If your access point is set to not broadcast the
SSID you can manually add it by clicking the
Advanced button. Follow the on-screen
instructions for entering the Name (SSID), and
then click Next.
20
p
If your network is not configured for
Authentication and Encryption, the following
screen will appear. To continue configuration,
click OK and go to r.
q
Enter the Network Key and then enter the key
again in Confirm Network Key, then click
Next.
r
Click Next. The settings will be sent to your
machine.
Note
• The settings will remain unchanged if you click
Cancel.
• If you want to manually enter the IP address
settings of your machine, click Change IP
Address and enter the necessary IP address
settings for your network.
• (For USB cable users) If the wireless setup
failure screen appears, click Retry and try
starting from step o again.
s
For USB cable users, go to w.
(HL-2270DW and HL-2275DW only)
For Ethernet cable users, go to t.
®
Windows
